
Reflection Photography in South Beach Miami
Puddle reflections have become one of the most consistent elements in my Miami Beach photography, and I get asked about them often enough that it's worth writing down exactly how I find them, what makes them work, and how I approach the shot when conditions are right.
The short version: this is less about luck than it looks. There's a method to finding reflections consistently, and once you develop the habit, you start seeing them everywhere.
Why Puddle Reflections Work Photographically
A reflection in a puddle does several things simultaneously that are difficult to achieve through any other means.
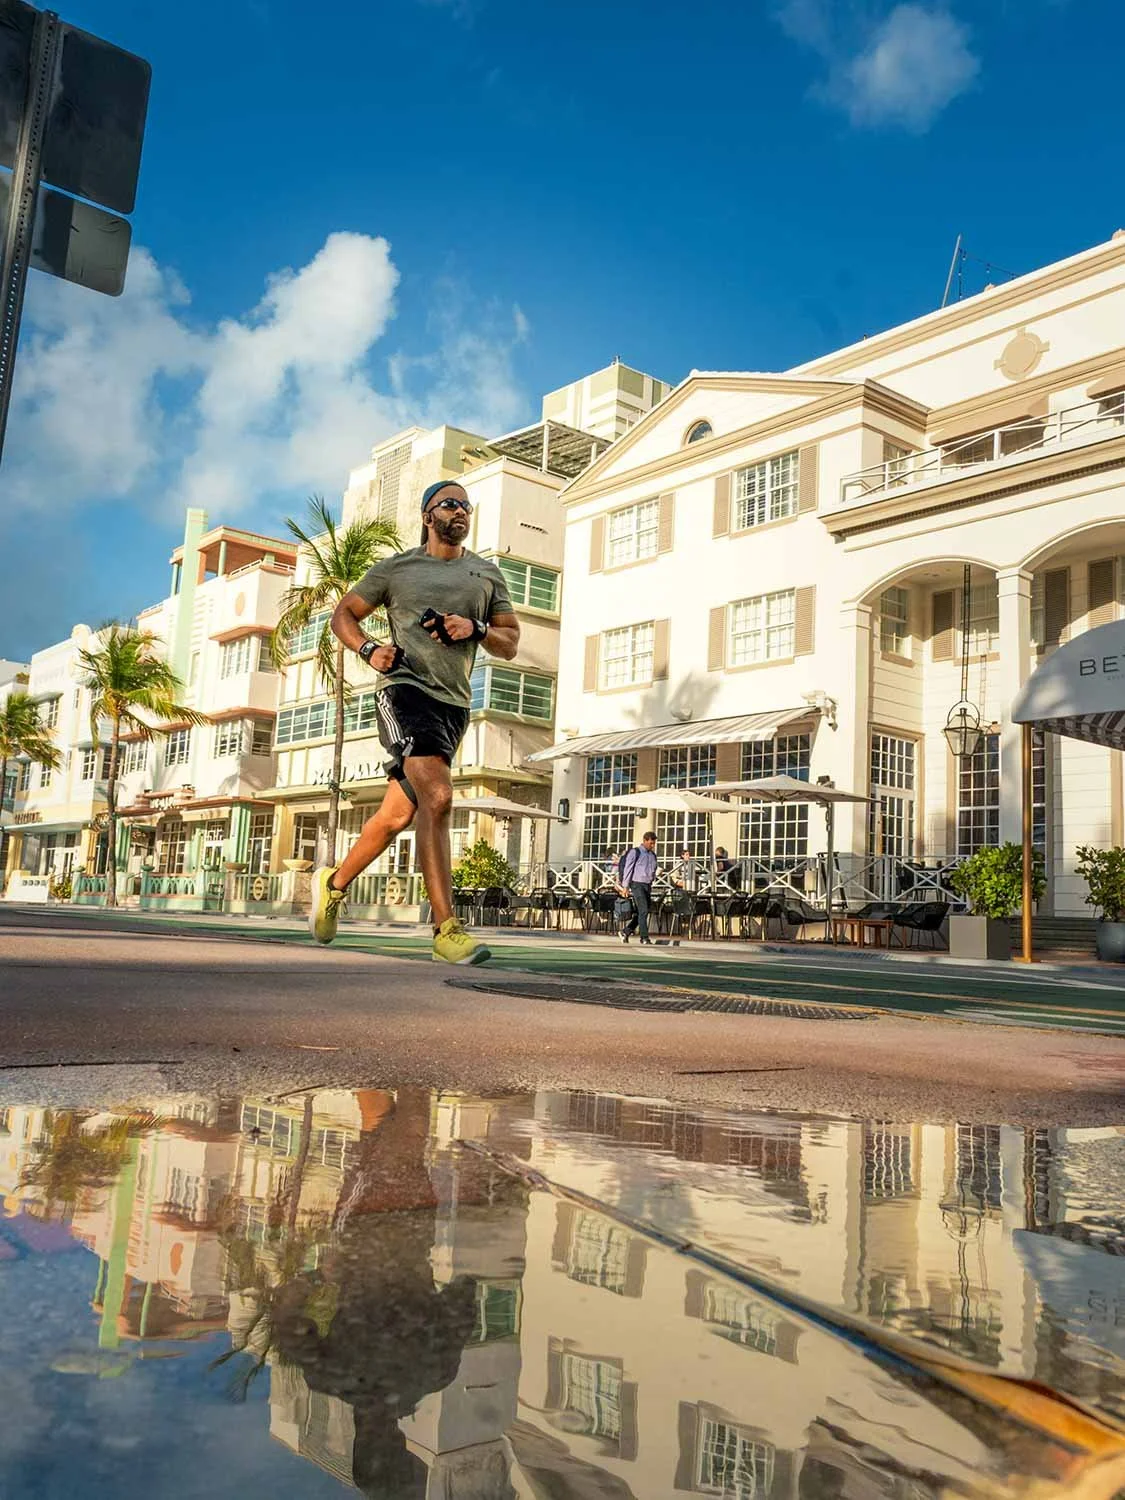
It doubles the image. A building reflected in standing water gives you two versions of the same subject occupying the same frame — the actual structure and its inverted mirror image. The eye has to reconcile the two, which creates a sustained visual engagement that a single subject doesn't produce.
It brings the sky into the ground plane. A puddle reflection essentially allows you to photograph the sky by pointing your camera at the ground. In a place like Miami Beach where the sky is often the most dramatic element, deep blue, storm-lit, golden and being able to bring that into the lower third of a frame rather than just the upper portion creates compositional possibilities that wouldn't otherwise exist.
The Conditions I Look For
Not every puddle produces a useful reflection, and learning to read the conditions quickly saves time and effort.
Still water is non-negotiable. A puddle with any wind ripples on the surface won't produce a clear reflection — the image breaks up into fragmented light. Miami Beach's wind comes and goes quickly, and in the period immediately after rain, the air is often calm. That's the sweet spot.
Dark surfaces work best. Asphalt, polished concrete, and smooth pavement hold reflections more clearly than pale or textured surfaces. The dark background makes the reflected image legible rather than competing with the surface color. I specifically look for puddles on fresh or wet asphalt and in the smooth concrete areas around building entrances.
Depth matters. A very thin film of water produces less contrast than a puddle with some actual depth. The best reflections come from standing water that's at least a few millimeters deep and shallow enough to show the surface below it, but deep enough to reflect cleanly.
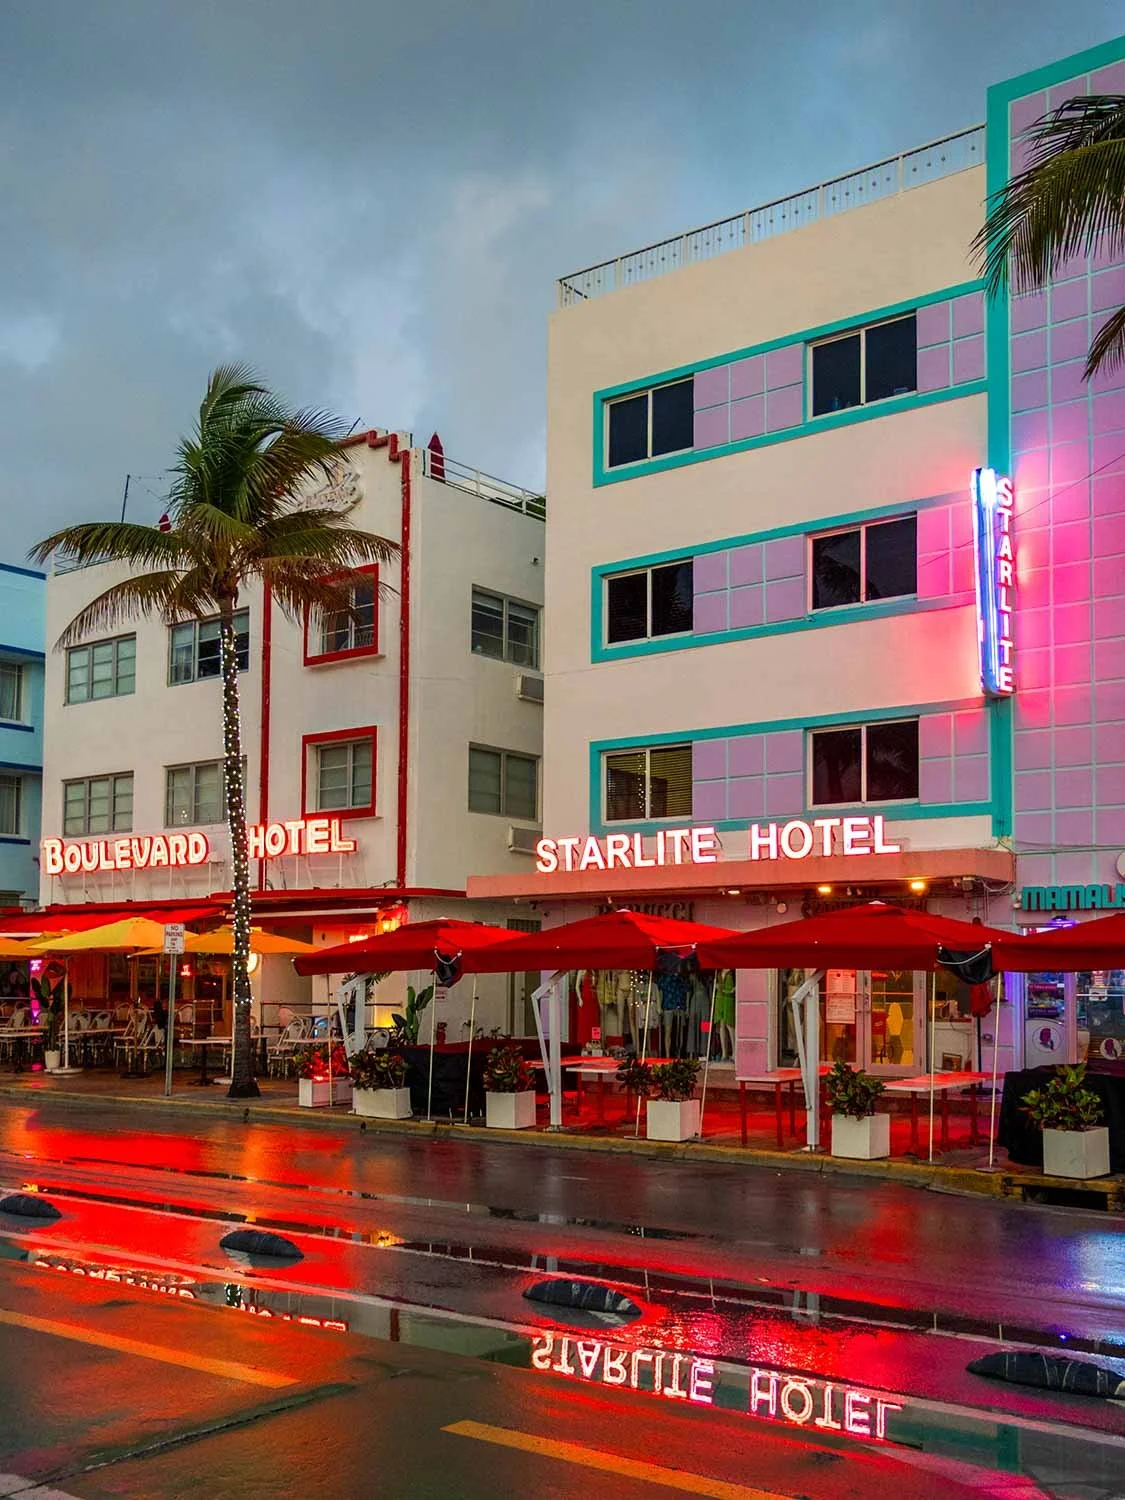
The angle of the light. Reflections are most dramatic when there's a strong, directional light source involved, the sun at golden hour, a lit building at night, a bright sky against a dark cloud bank. Flat, overcast light produces reflections that are technically present, but visually flat.


South Beach After Overnight Rain
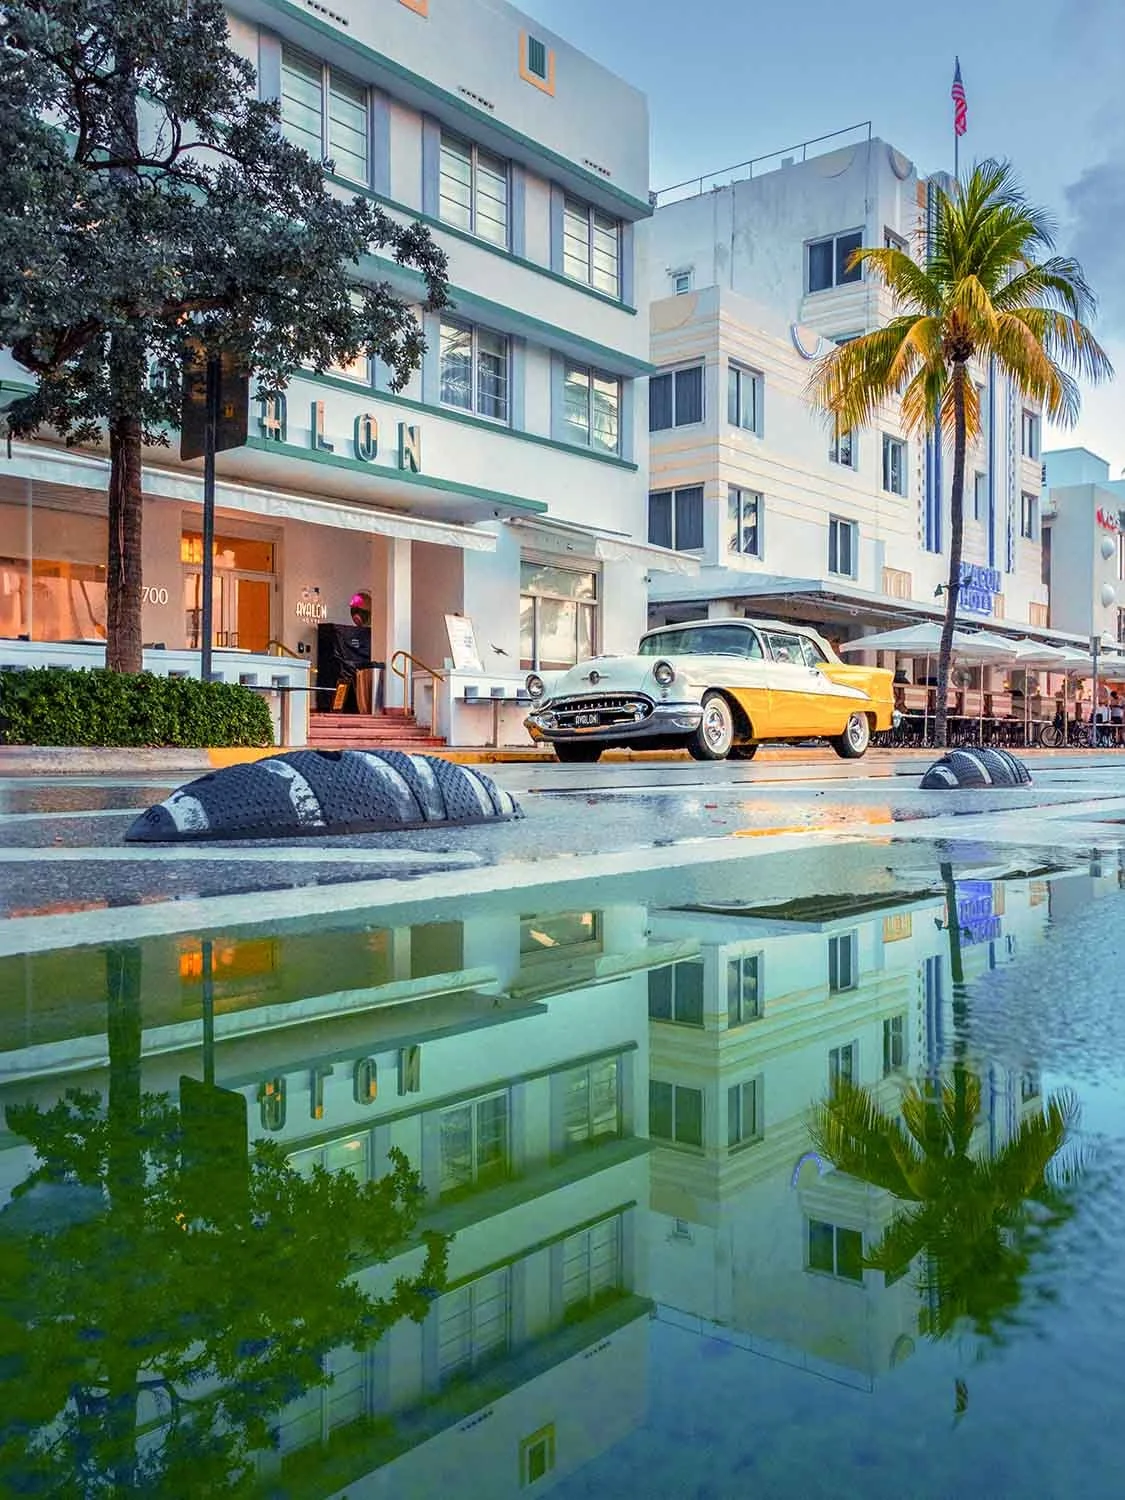
South Beach offers puddle reflections on Ocean Drive and Collins Avenue after overnight or early morning rain. The street surfaces here dry quickly in the morning sun, so the window is narrow. Get there early. The best situation is an early morning after light overnight rain when the sun is just rising from the east: the art deco facades catch warm light, the reflections in the wet street below them show the buildings in warm color against a still-blue sky, and the scene cleans up before the morning crowds arrive.
How I Shoot the Reflection
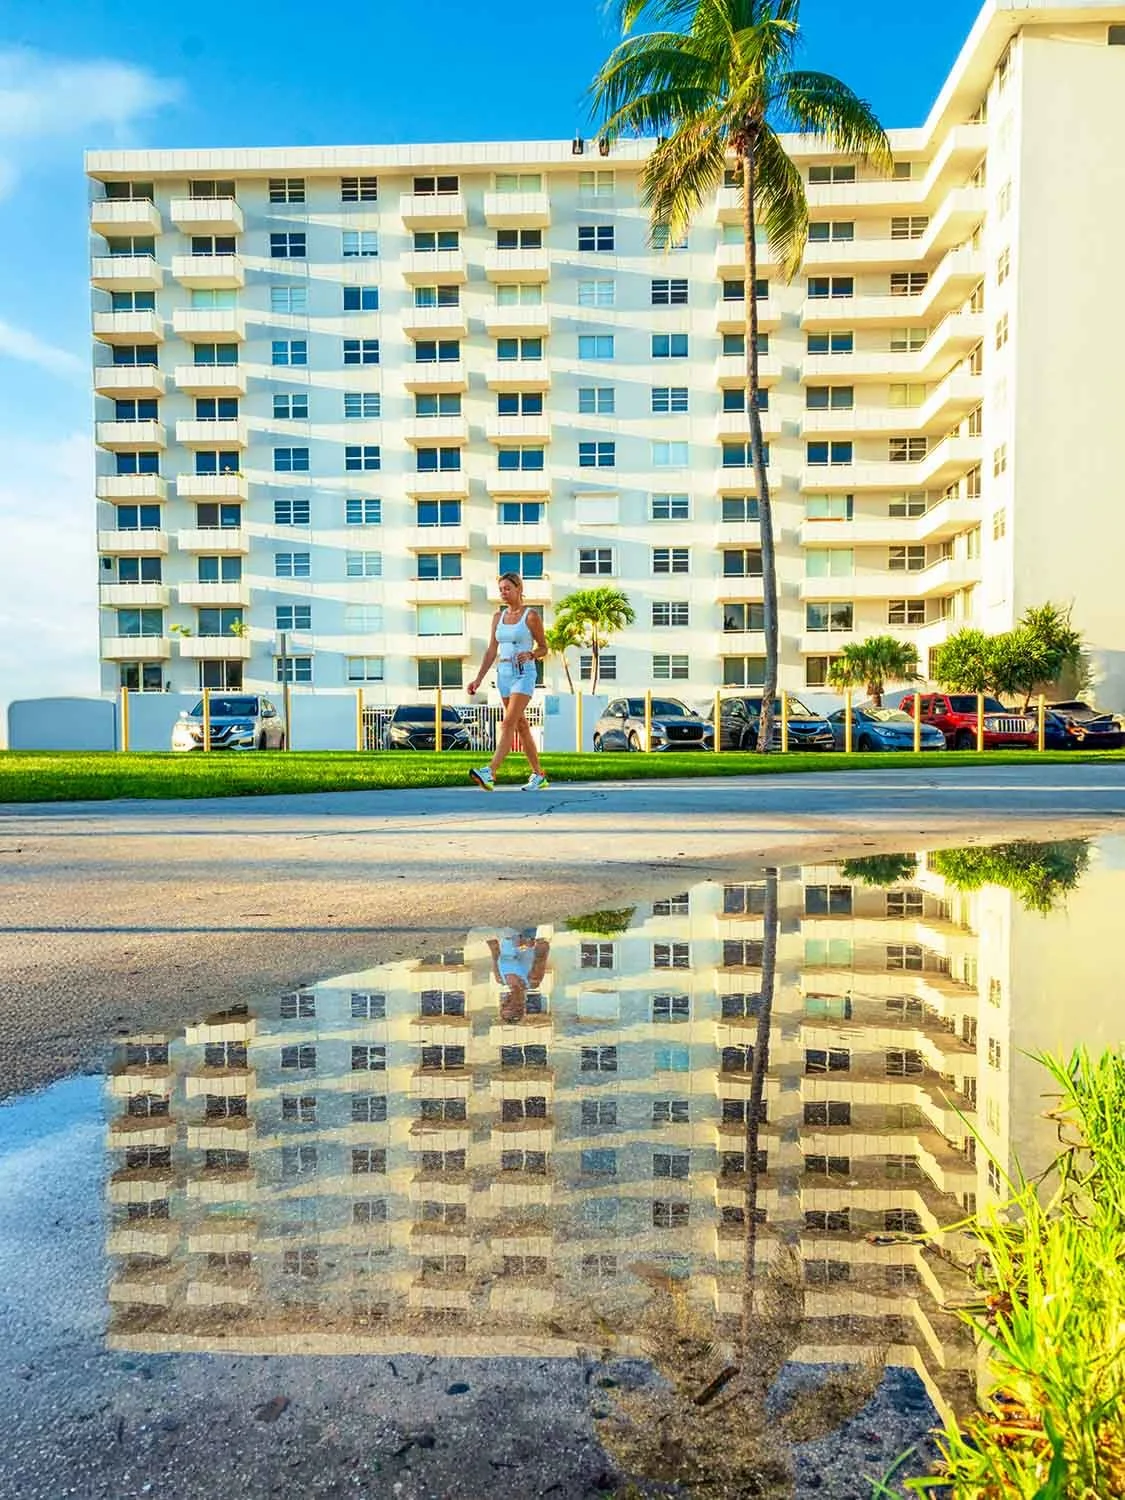
Get low. This is the fundamental technique that separates reflections that work from ones that don't. A puddle reflection shot from standing height shows a small pool of water with a distorted image in it. The same puddle shot from 6 to 12 inches off the ground, lens close to the water surface, shows a vast mirror image that dominates the frame and gives the impression of the city floating on water. I shoot reflections from my knees or with the camera held just above the ground more often than not.
Find the camera angle that balances the subject and its reflection. The reflection should occupy enough of the frame to read clearly. Usually at least a third of the total frame area. I look for a position where the reflected building or sky fills the lower portion of the frame with the actual subject in the upper portion, creating a symmetrical or near-symmetrical composition.
Experiment with the horizon line. Placing the line between the reflection and the sky exactly in the center of the frame creates a pure symmetrical image. Moving it above center makes the reflection dominant; below center makes the sky dominant. Neither is right or wrong. It depends on which element is more interesting in the specific image.
Work the disturbances. A ripple crossing a puddle reflection isn't always a failure — sometimes it's the most interesting element in the image. A single raindrop hitting the center of a clear reflection, a bird landing at the edge, a person walking through create movement in an otherwise static image. Don't immediately write off a disturbed surface; watch how it moves and decide whether the disturbance is adding or subtracting.