
I live in Miami, where hard light is what I get most days, and I like shooting in it. A lot of photographers avoid it, but it gives me strong shadows with clean edges, so I end up shooting plenty of them. In street photography, a shadow can be the subject of the picture, or it can be a second version of the person casting it. Here are the four ways I find them most often, followed by the settings I use for all of them.
From Above
I’ll start with the easiest of the four. From above, the shadow lands on the ground right next to the subject, and you see both at the same time. Find a higher spot, look for an interesting subject, and wait for them to move. Any elevated spot works, and the Metromover has plenty of them. I shot this one from the platform at the Adrienne Arsht Center station on my way to Wynwood.
Movement is what makes the shot. I want separation in the shadow, with the legs apart and the arms away from the body. Without that separation, the shadow merges into one dark shape, and you can no longer tell it’s a person.
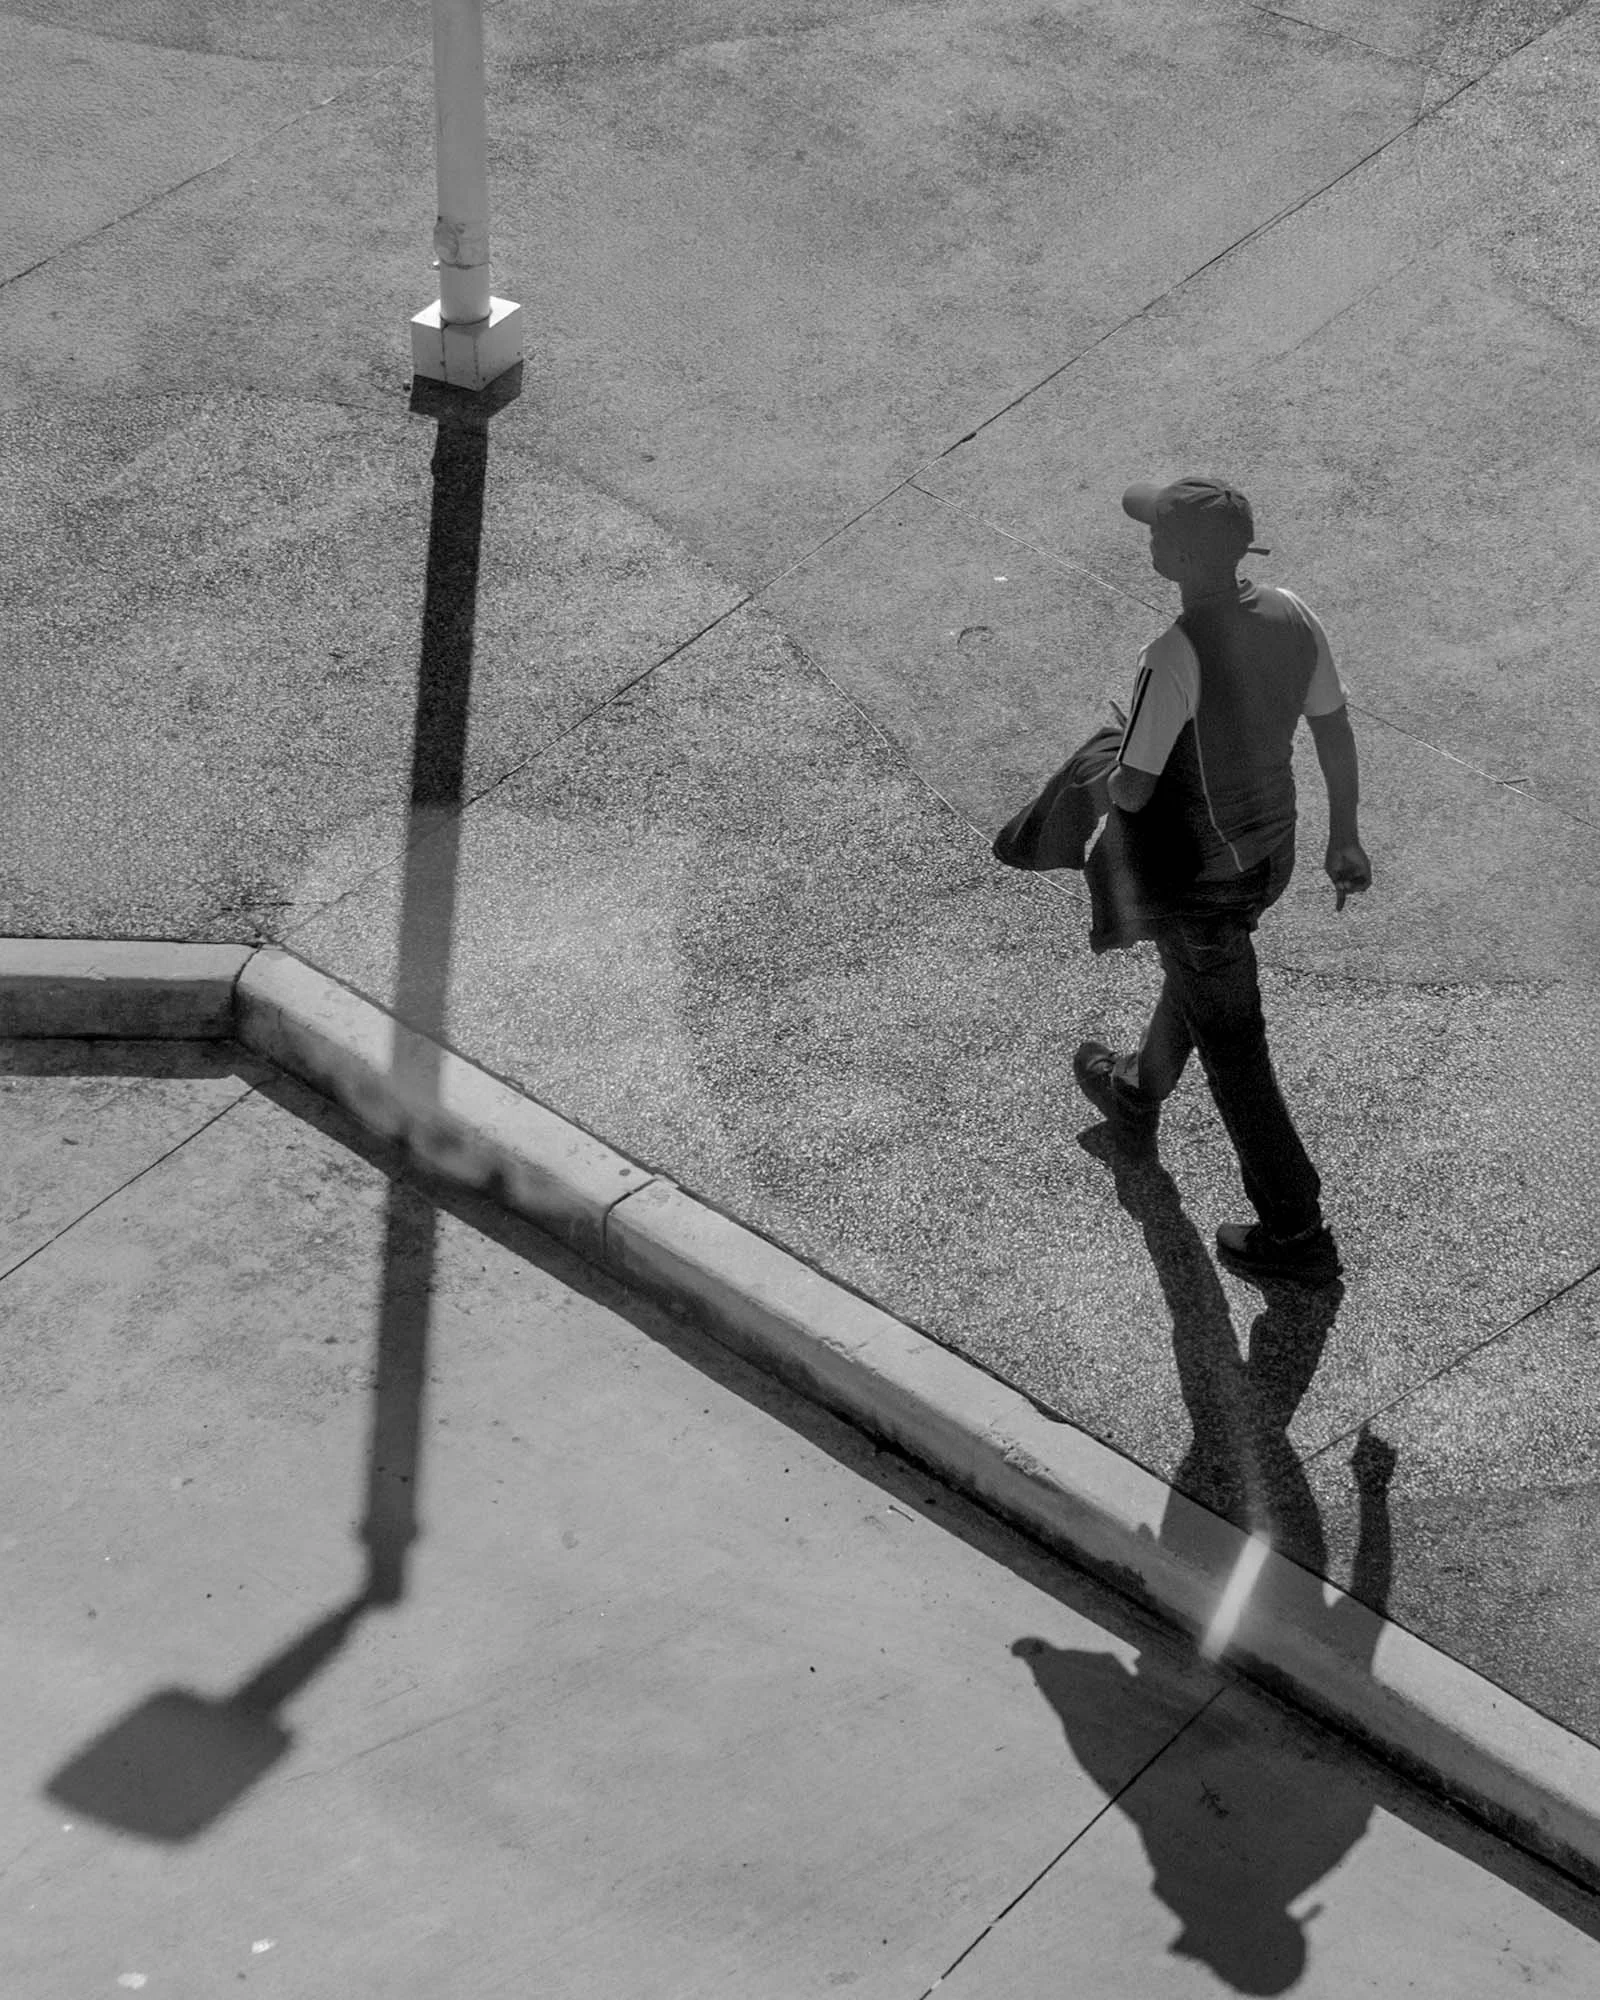
The person is small in the frame, and the shadow on the plaza below the station is longer than the person casting it.
A Shadow on a Wall
If a person walks through a pocket of light next to a wall, a shadow will always be created. I wrote about those pockets in Finding Pockets of Light. The wall gives the shadow a clean surface to land on, and a light-colored wall gives the most contrast.
The size and position of the shadow depend on where the camera is positioned and where the sun is. With the sun low and off to the side, the shadow stretches along the wall beside the person. As the sun gets higher, the shadow gets shorter and sits closer to their feet. Moving a few steps to my left or right changes how far the shadow sits from the person and how much of it I see.
I usually use burst mode, because the moment only lasts a step or two. I’m looking for the legs in the right position, with a clear gap between them, and the arms separated from the body. When the arms are against the body, the shadow loses its shape.
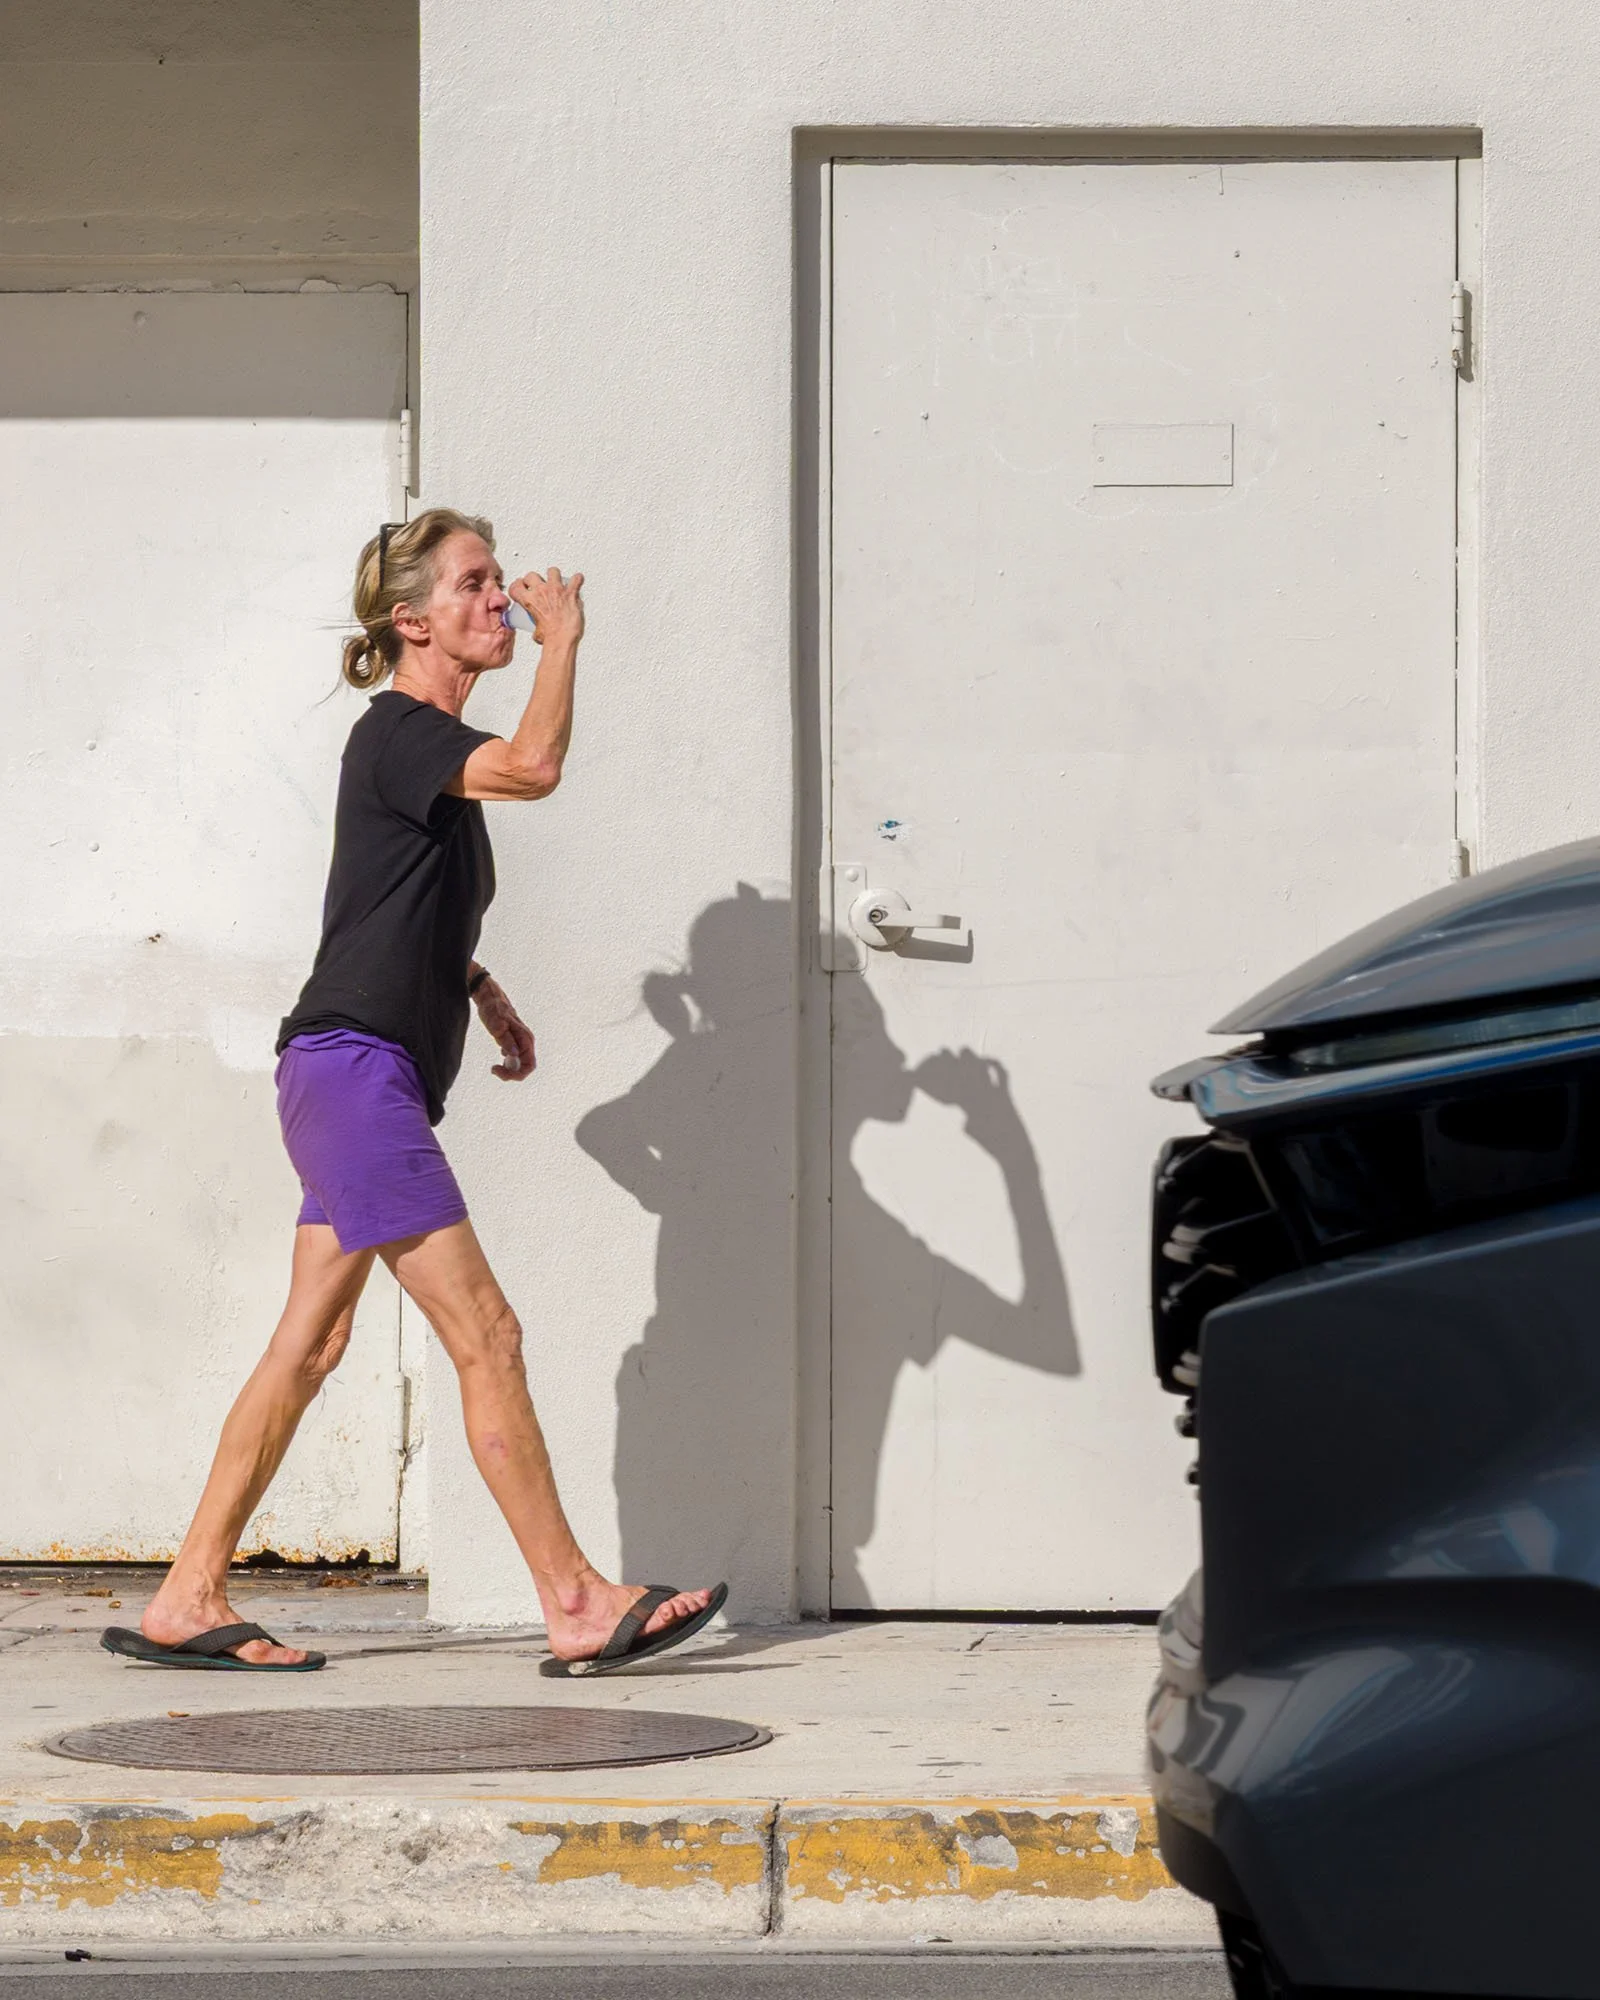
The woman is drinking from a water bottle as she walks, and her shadow on the white door repeats the gesture.
Picking the Spot First
Sometimes, I work the other way around. I find a spot where I know a person will move through and create an interesting shadow, then I wait for someone to enter the scene, whether they’re walking, running or riding a bike. It’s the same approach I use in Shooting Reflections in Mirrors. The location and the light are already set, so the only thing I’m waiting for is the person.
Once I’ve picked the spot, I set my exposure and focus before anyone arrives. When someone enters the scene, I’m not adjusting anything. I’m only watching their legs and arms.
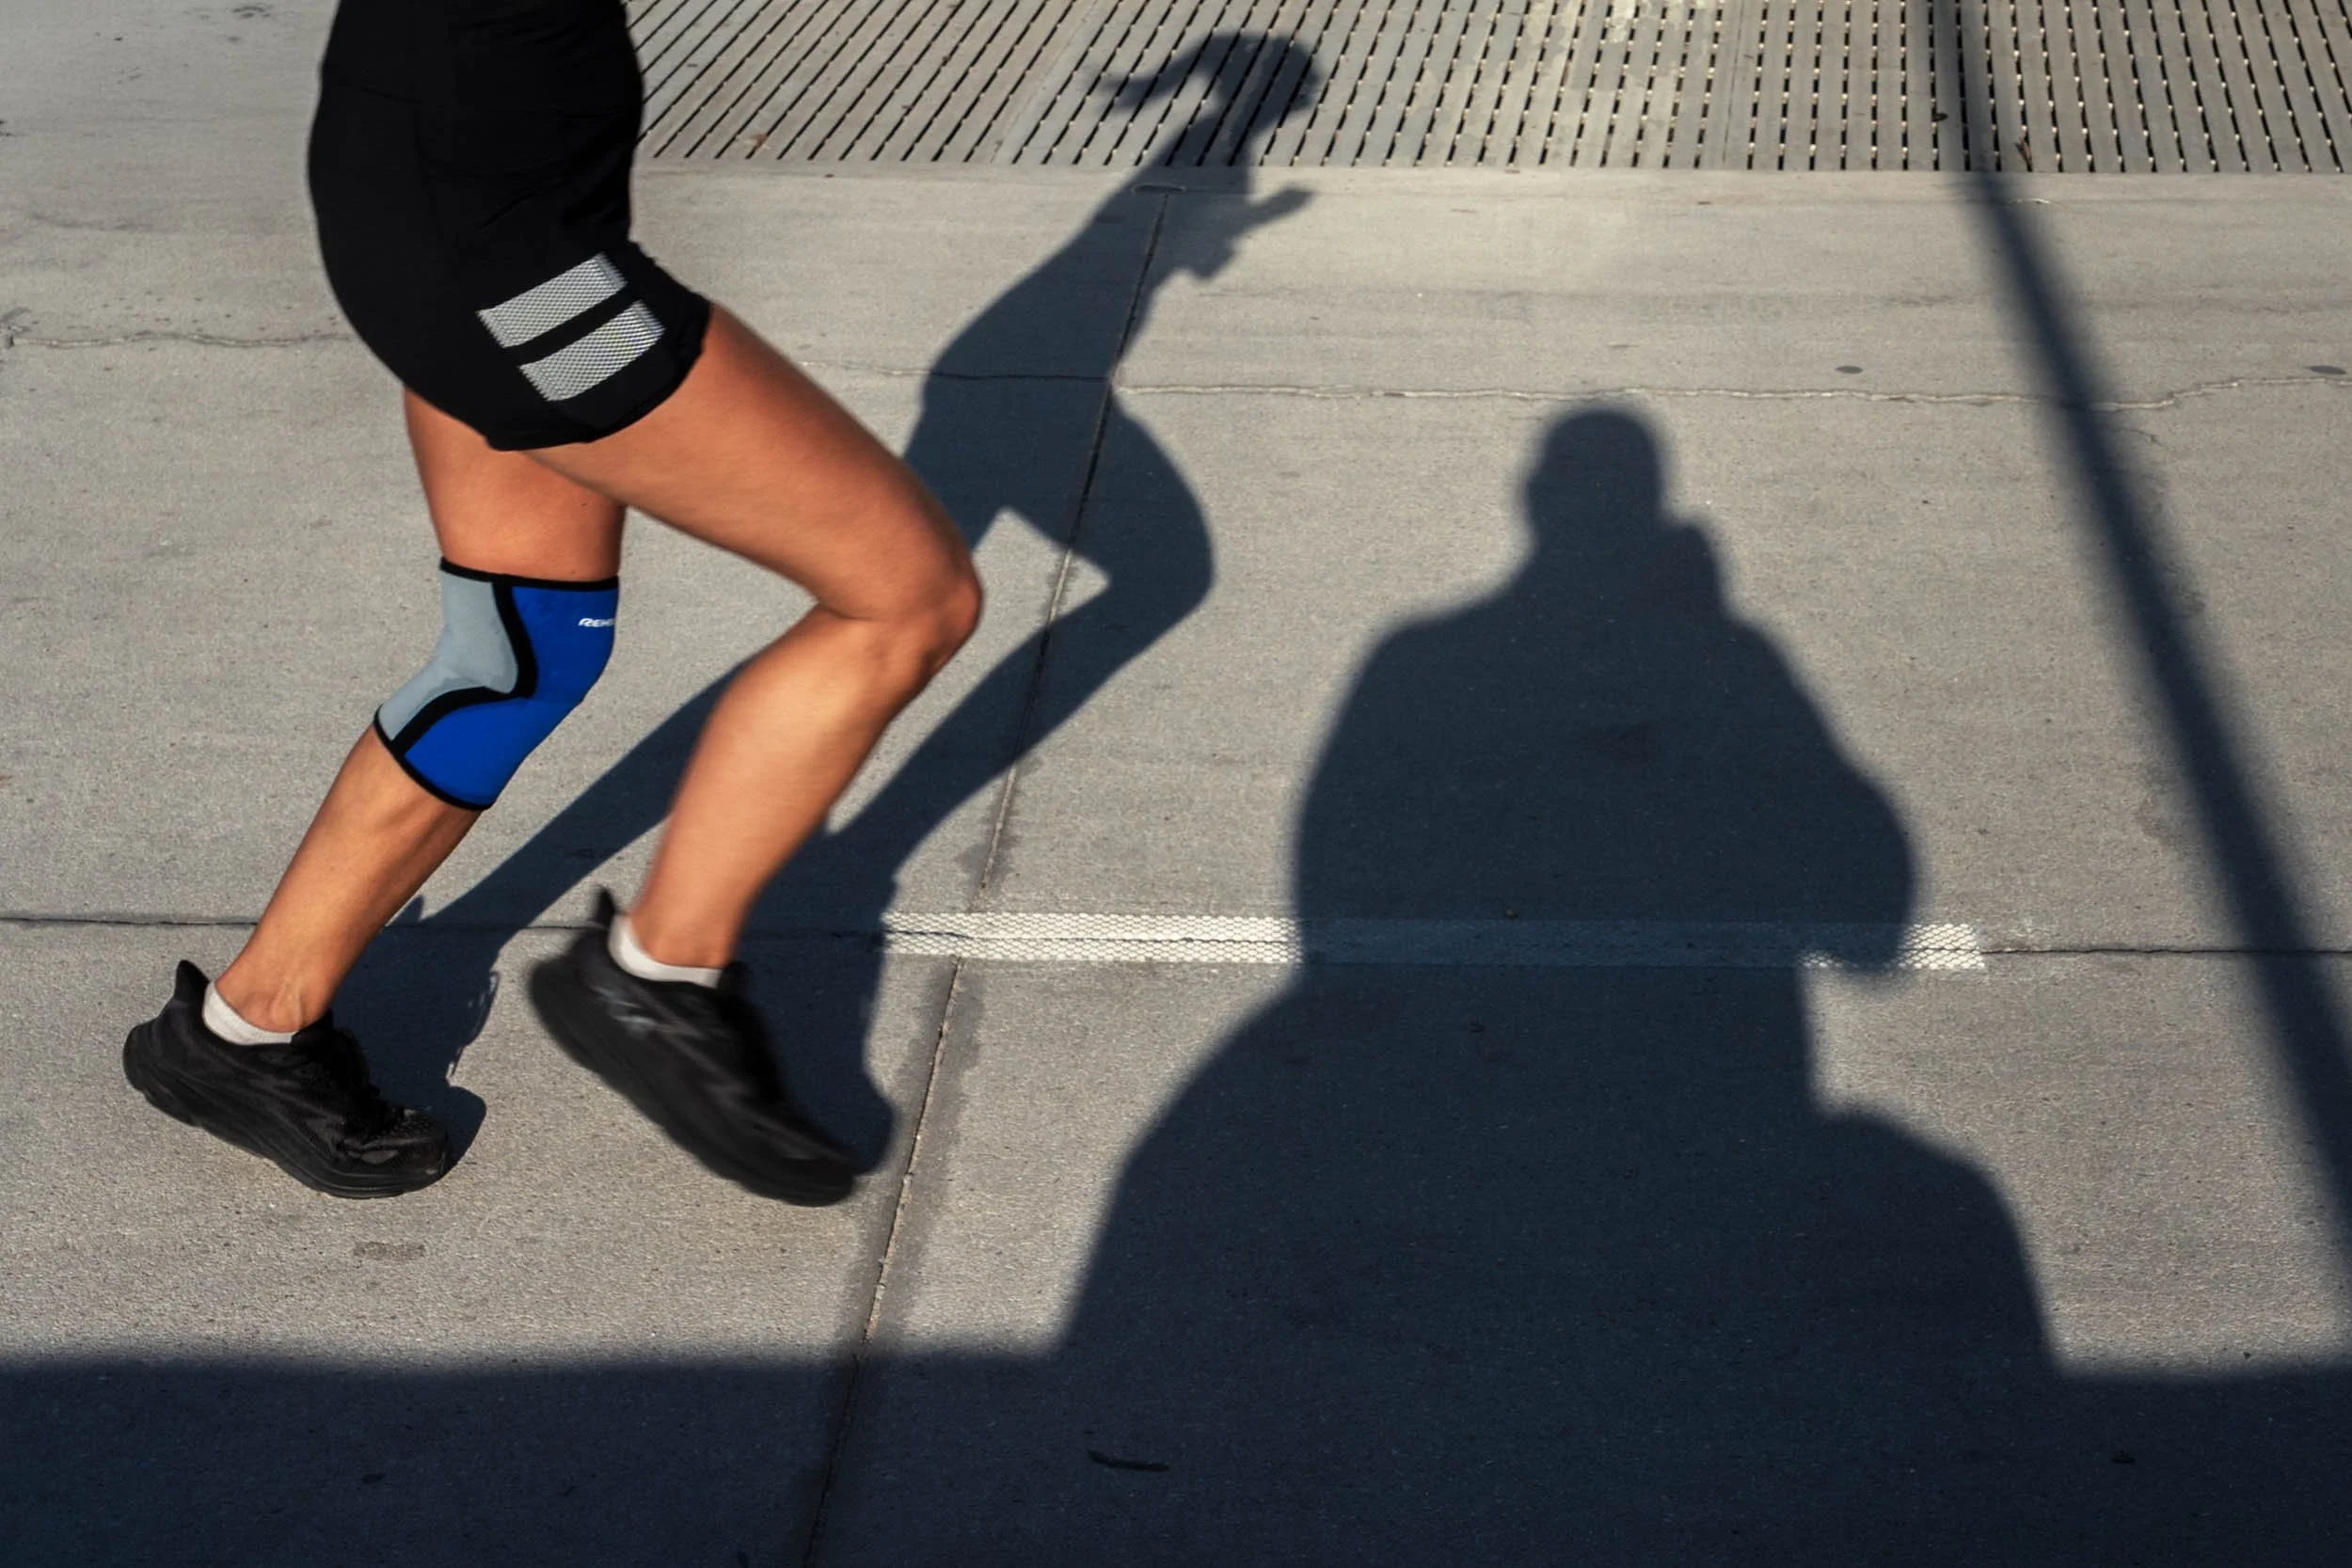
A runner’s legs and the shadows on the sidewalk at Lummus Park, with the knee brace catching the light. The sun was behind me, so my own shadow is in the frame too.
Shadow Patterns
Not every shadow shot needs a person’s shadow. Signs and poles throw shadows too, and when the sun hits them at an angle, they turn into lines and shapes across the ground or a wall.
The pattern could be on the sidewalk or on a wall behind a subject. With a person in the frame, the pattern becomes a background that gives the picture structure. Even without a person, it can be interesting on its own.
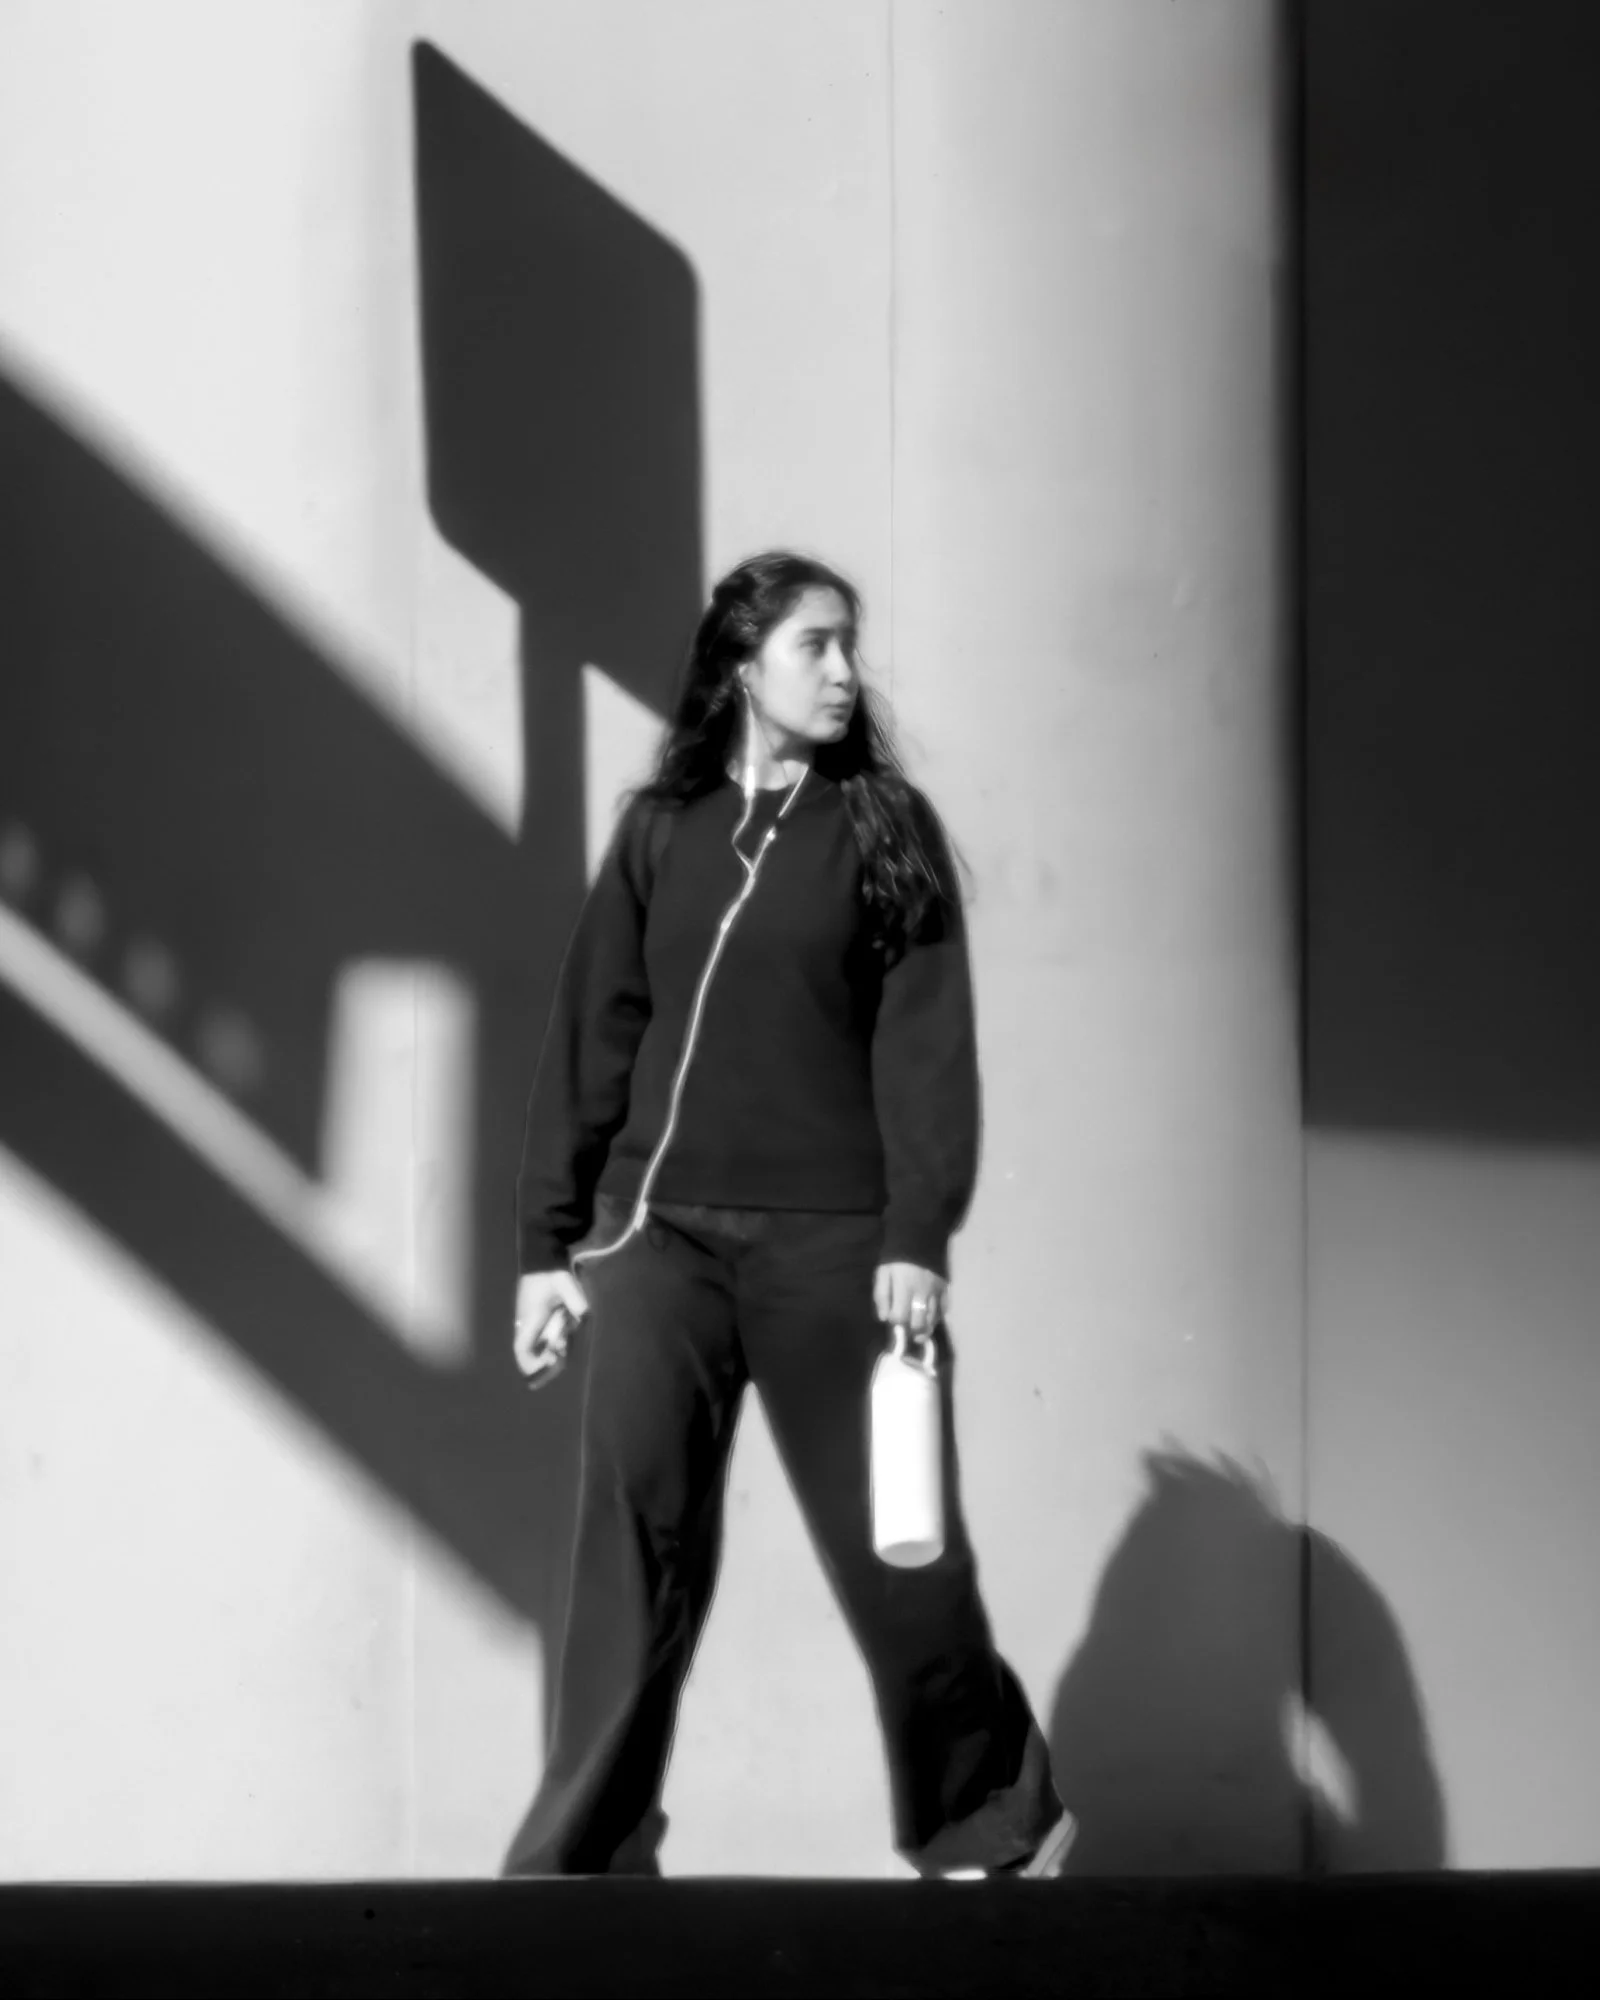
The shadow of a sign falls across the wall behind a woman holding a water bottle.
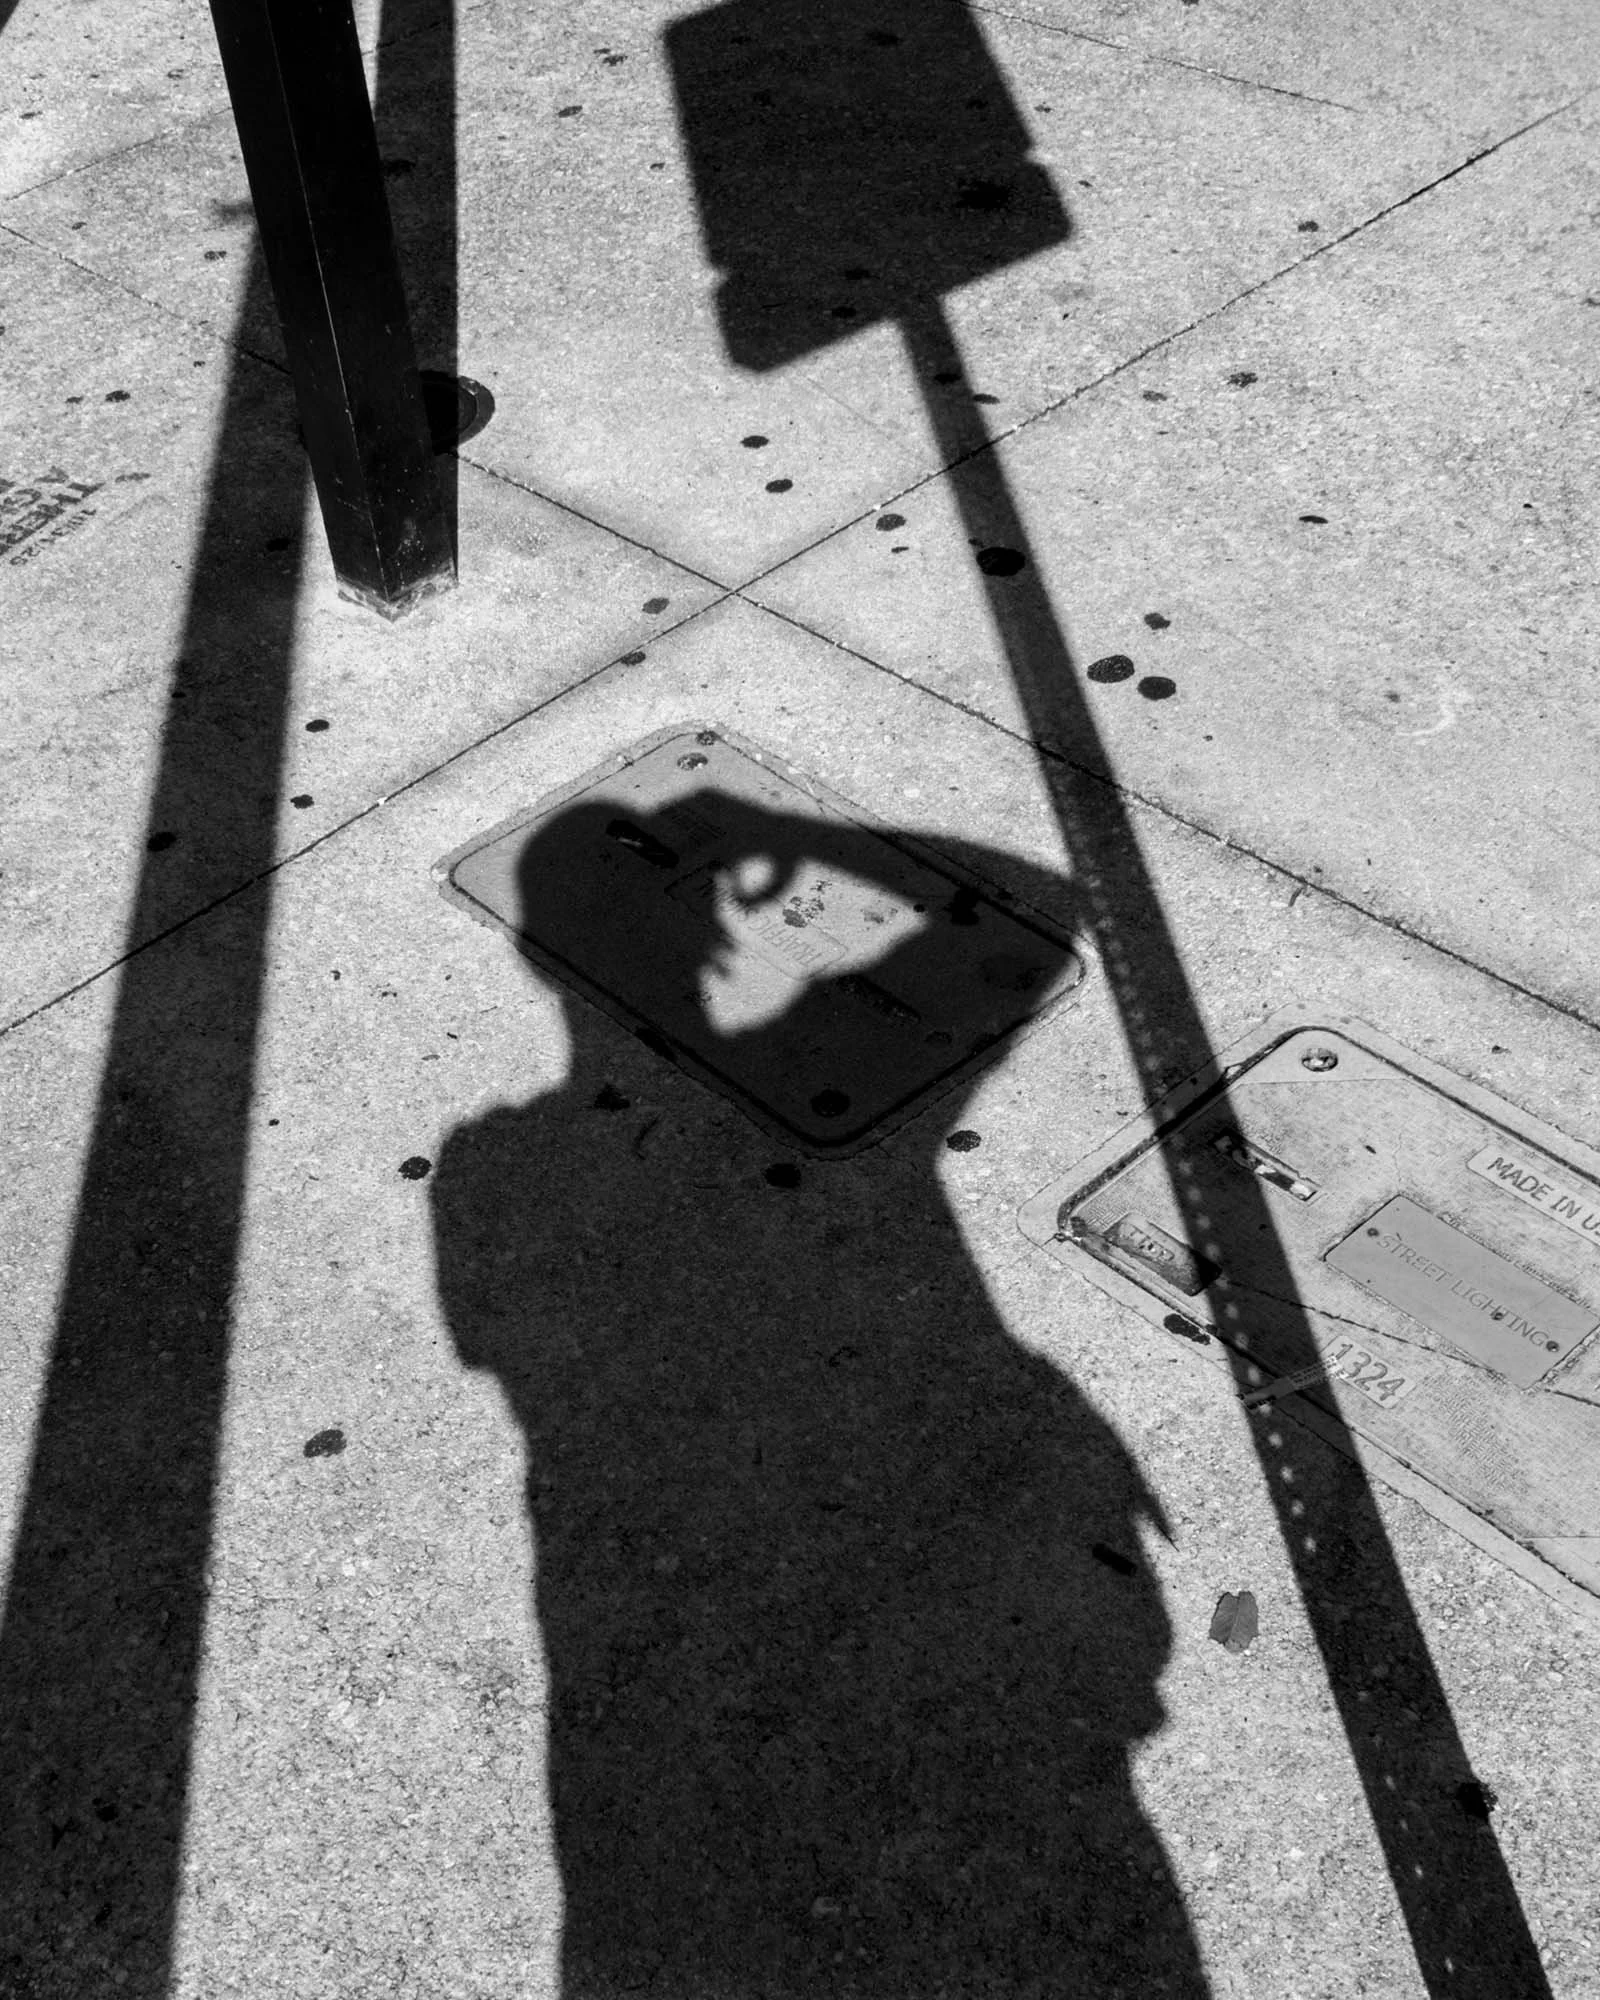
Pole shadows cut across the sidewalk on either side of my own shadow.
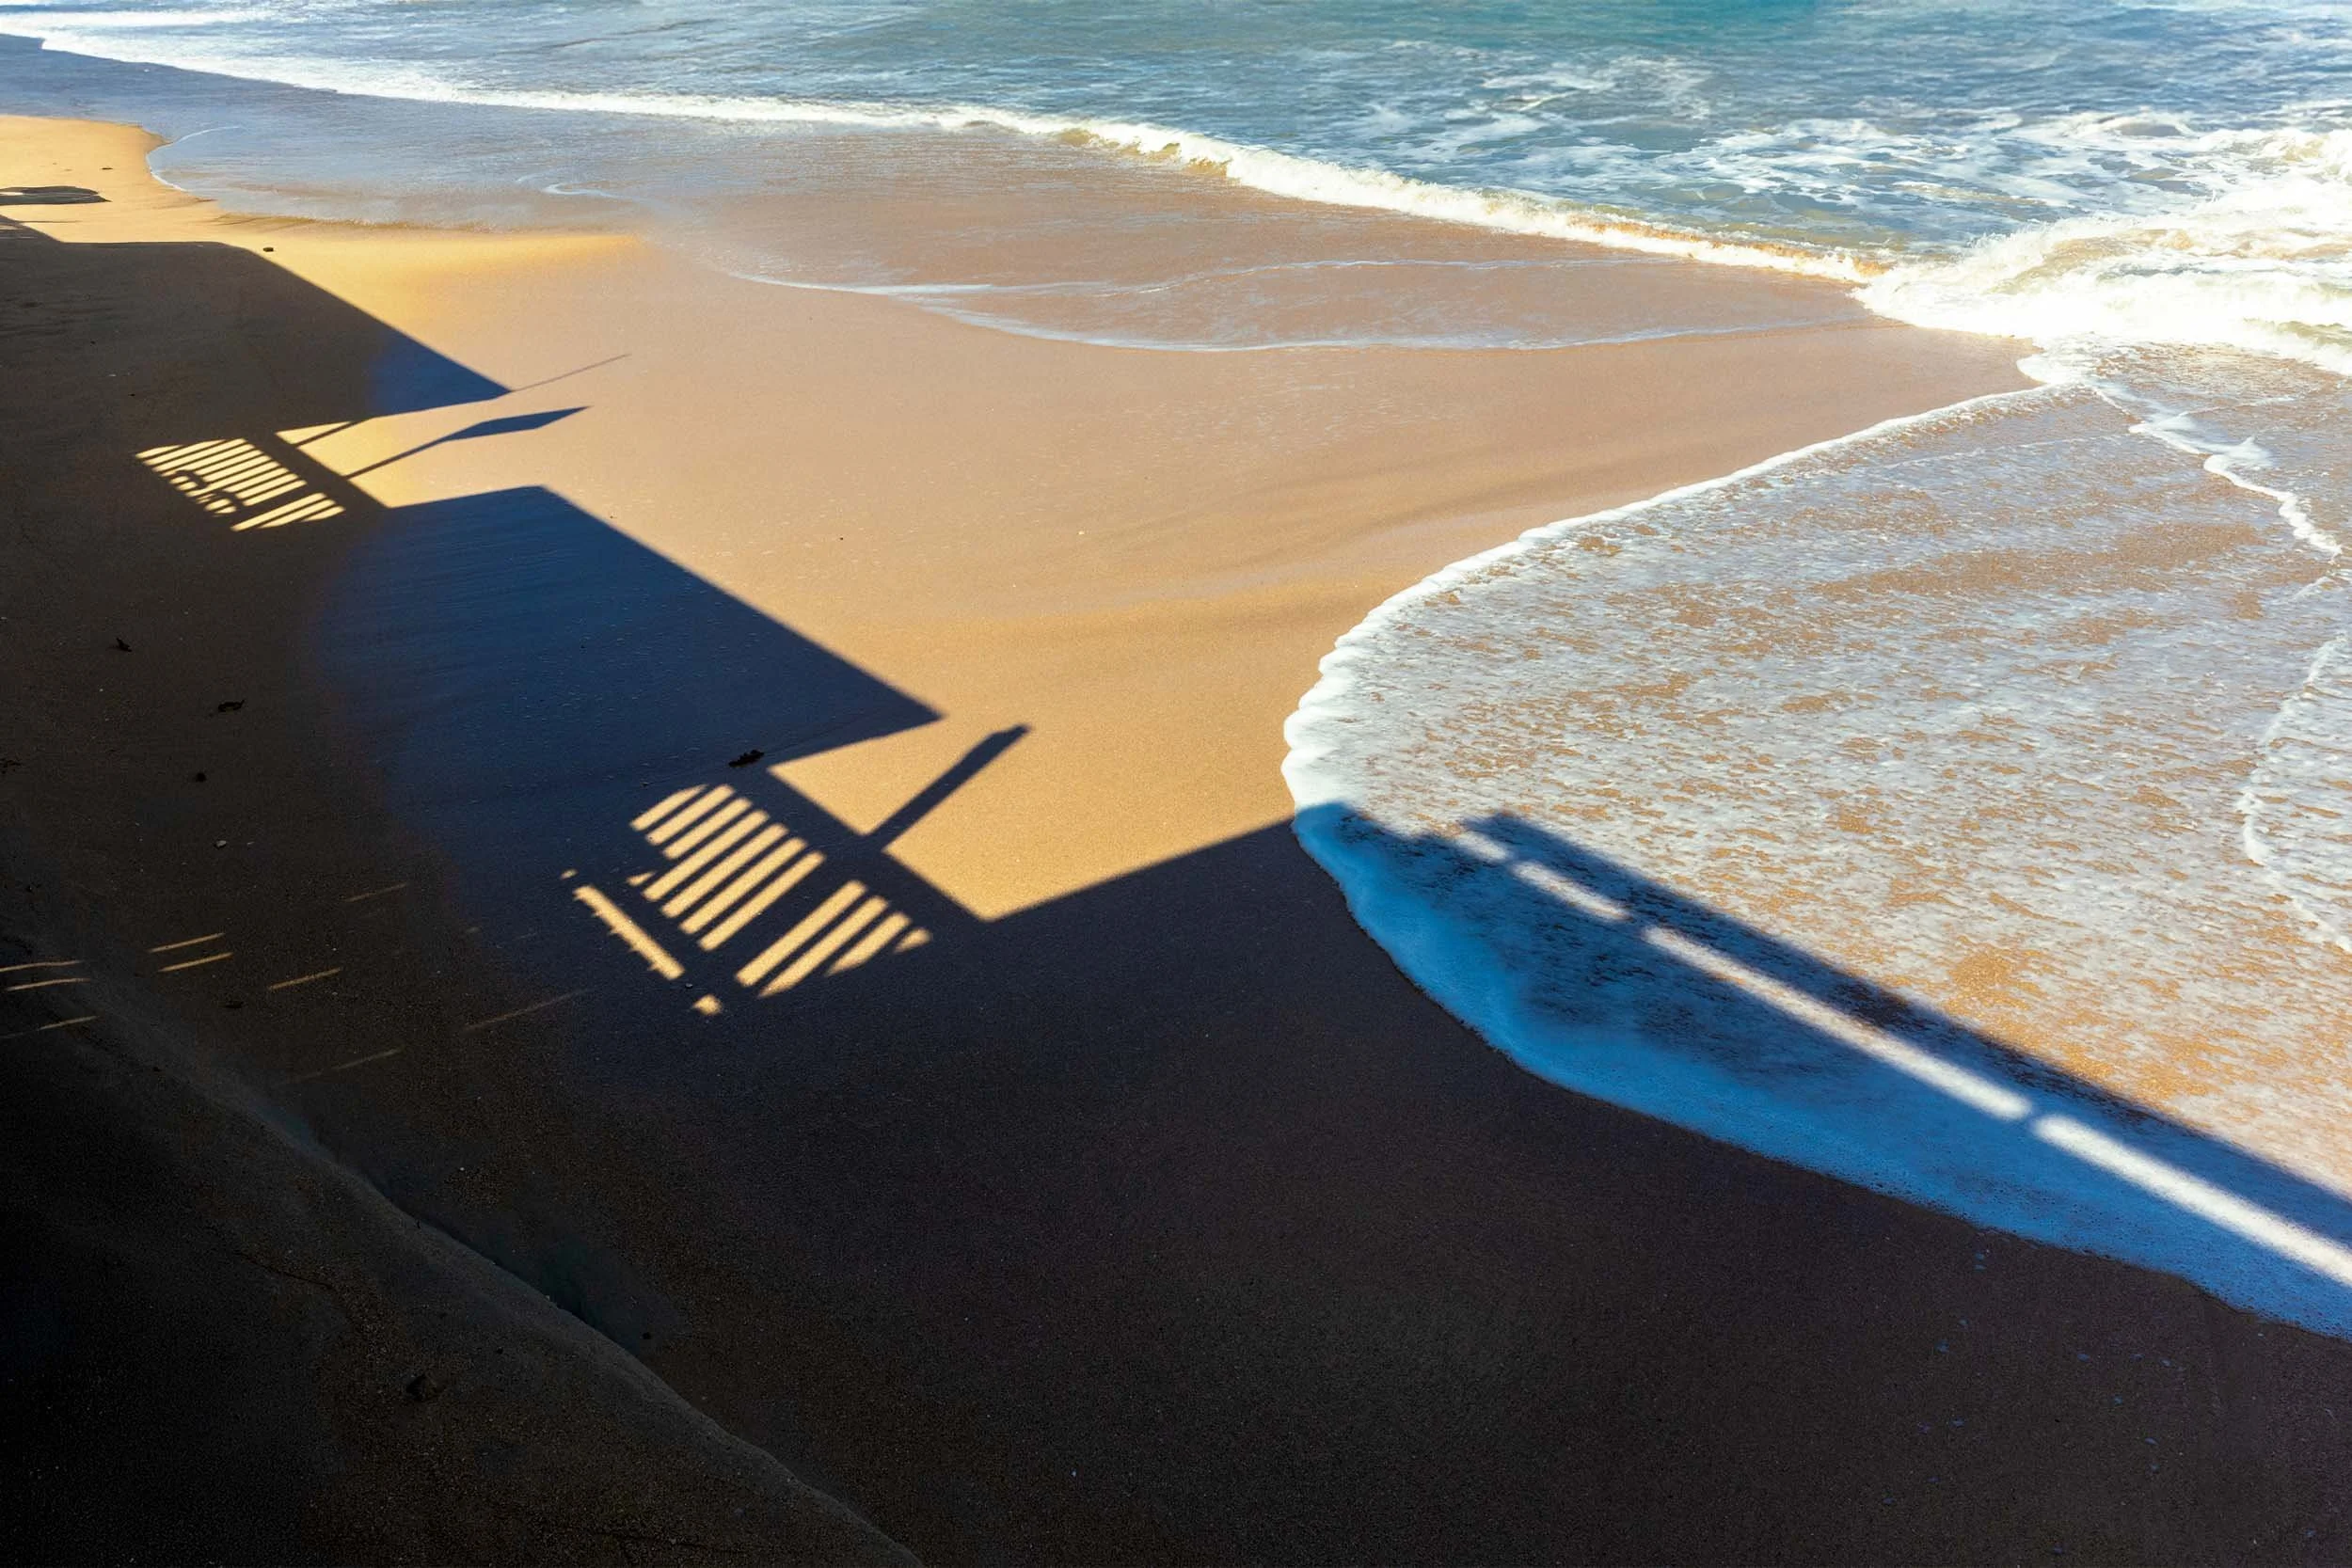
The railing on a beachside restaurant’s boardwalk throws its shadows across the sand and into the surf at Vigie Beach in Castries, St. Lucia. There is no one in the frame, and where the water reaches the shadows, they bend with the edge of the wave.
My Settings for Shadow Photography
I shot all of these on my Sony A7 V or A7 IV with a Sigma 18-50mm, except the beach shot, which was on my Ricoh GR IV.
Exposure compensation. I always use it. Normally, I bring the exposure down a third or two thirds of a stop, and on a really bright day it could be a full stop. Bringing it down keeps the bright areas from blowing out and keeps the shadows dark.
Auto ISO. I always shoot with Auto ISO. In hard light, the ISO stays low, and it leaves me with only two settings to think about.
Aperture. Besides exposure compensation, the f-stop is the only other adjustment I make. It depends on the scene, but I’m normally between f/5.6 and f/8, which gives me enough depth of field to keep the person and the shadow sharp.
Focus. Depending on the scene, I might use autofocus, but many times I zone focus. When I already know where the person will be, zone focusing means the camera doesn’t have to find them.
For more on how I set exposure compensation in hard light, see Exposure Compensation in Hard Light.
Train Your Eye
When I’m on a photo walk, or just walking, I’m looking for shadows, and they’re everywhere. Watch where the light is coming from, and look down at the sidewalk and across at the walls, not only at the people. Train your eye to find them.