
Over two days in October 2025, horse-drawn carriages became one of my main subjects in Charleston’s historic district. It was also my first trip with the Leica Q3, and I was shooting in hard light the whole time. Shooting it was different from shooting my Sony, so I’ll start with how I got comfortable with the camera, then get into how I set the exposure for each of the carriage frames.
Getting Comfortable with the Leica Q3
The Q3 has a fixed 28mm lens, and getting used to that focal length took some adjustment. Normally when I’m traveling, I shoot my Sony A7 V with a Sigma 18-50mm, because sometimes I need the reach.
On the Sony with the Sigma, I’m often between 18mm and 28mm. On an APS-C lens, that’s about 27mm to 42mm in full-frame terms, so it’s close to the Q3’s 28mm, but I know I have the option of zooming. With the Leica, I had to use my feet to frame the shot and make sure the frame was filled.
The Q3 has a built-in digital crop that simulates longer focal lengths.
28mm. This is the native focal length, using the full 60.3 MP sensor.
35mm. The crop drops the file to about 39 MP.
50mm. The crop drops the file to about 18.9 MP.
75mm. The file is about 8 MP, which is enough for the web or smaller prints.
90mm. This is the tightest crop, at about 5.8 MP.
I never use it. It shouldn’t be confused with a zoom, because the camera is only cropping the frame. I guess it could help with framing a shot.
I love the colors the Leica renders, and it’s a fun camera to shoot. Pressing the shutter is noticeably smoother than on any other camera I’ve shot, and the click lets you know it’s a Leica.
The Q3 has a tilting screen, which is useful for low-angle shots like the ones in Shooting Low. I never use it when I’m standing up, because I prefer the viewfinder. In some situations I’ll use manual focus, but on this trip it wasn’t necessary. In tighter situations, I’ll set my focus and then switch the camera to manual focus. Other times I’ll zone focus, which is easy on the Q3 because the lens has distance and depth-of-field markings on the barrel, like a classic manual-focus Leica M lens.
It took about an hour of practice shots before I started to feel comfortable with the camera, both the lens and the buttons for adjusting settings. By the end of the first day, I didn’t need to think about the camera and could focus only on the photography.
Metering Modes on the Leica Q3
The Q3 has four exposure metering modes. Multi-Field is the factory default.
Multi-Field. It reads multiple zones across the entire frame and uses an algorithm to calculate a balanced exposure for what it assumes is the main subject.
Center-Weighted. It reads the entire frame but gives more weight to the center than to the edges.
Spot. It reads only a small area in the center of the image.
Highlight-Weighted. It prioritizes the bright areas of the scene to keep them from blowing out in high-contrast light.
Each mode is the camera deciding which part of the frame matters most. I would rather leave the camera on one mode and make that decision myself with exposure compensation.
In practice, that means Multi-Field almost all the time, with exposure compensation set for the scene. At sunrise on South Beach, I will sometimes switch to Spot, but I find I can get the same result with exposure compensation. I never use Center-Weighted or Highlight-Weighted. The exposure compensation dial on my cameras is always well worn.
Hard Light, Clear Sky
Neither day had many clouds. Hard light isn’t a problem for me. I shoot in it all the time in Miami, and I like the shadows and contrast it creates.
The carriages are so common that I never had to wait long. Most of the time, I would see one coming down the street, pick the background and the angle, and get into position before it arrived. In those few seconds, I also had to work out where the light was. Is the shot backlit, front lit or lit from the side? Once I know that, I control the exposure with exposure compensation. In each of these three frames, the adjustment was a third of a stop.
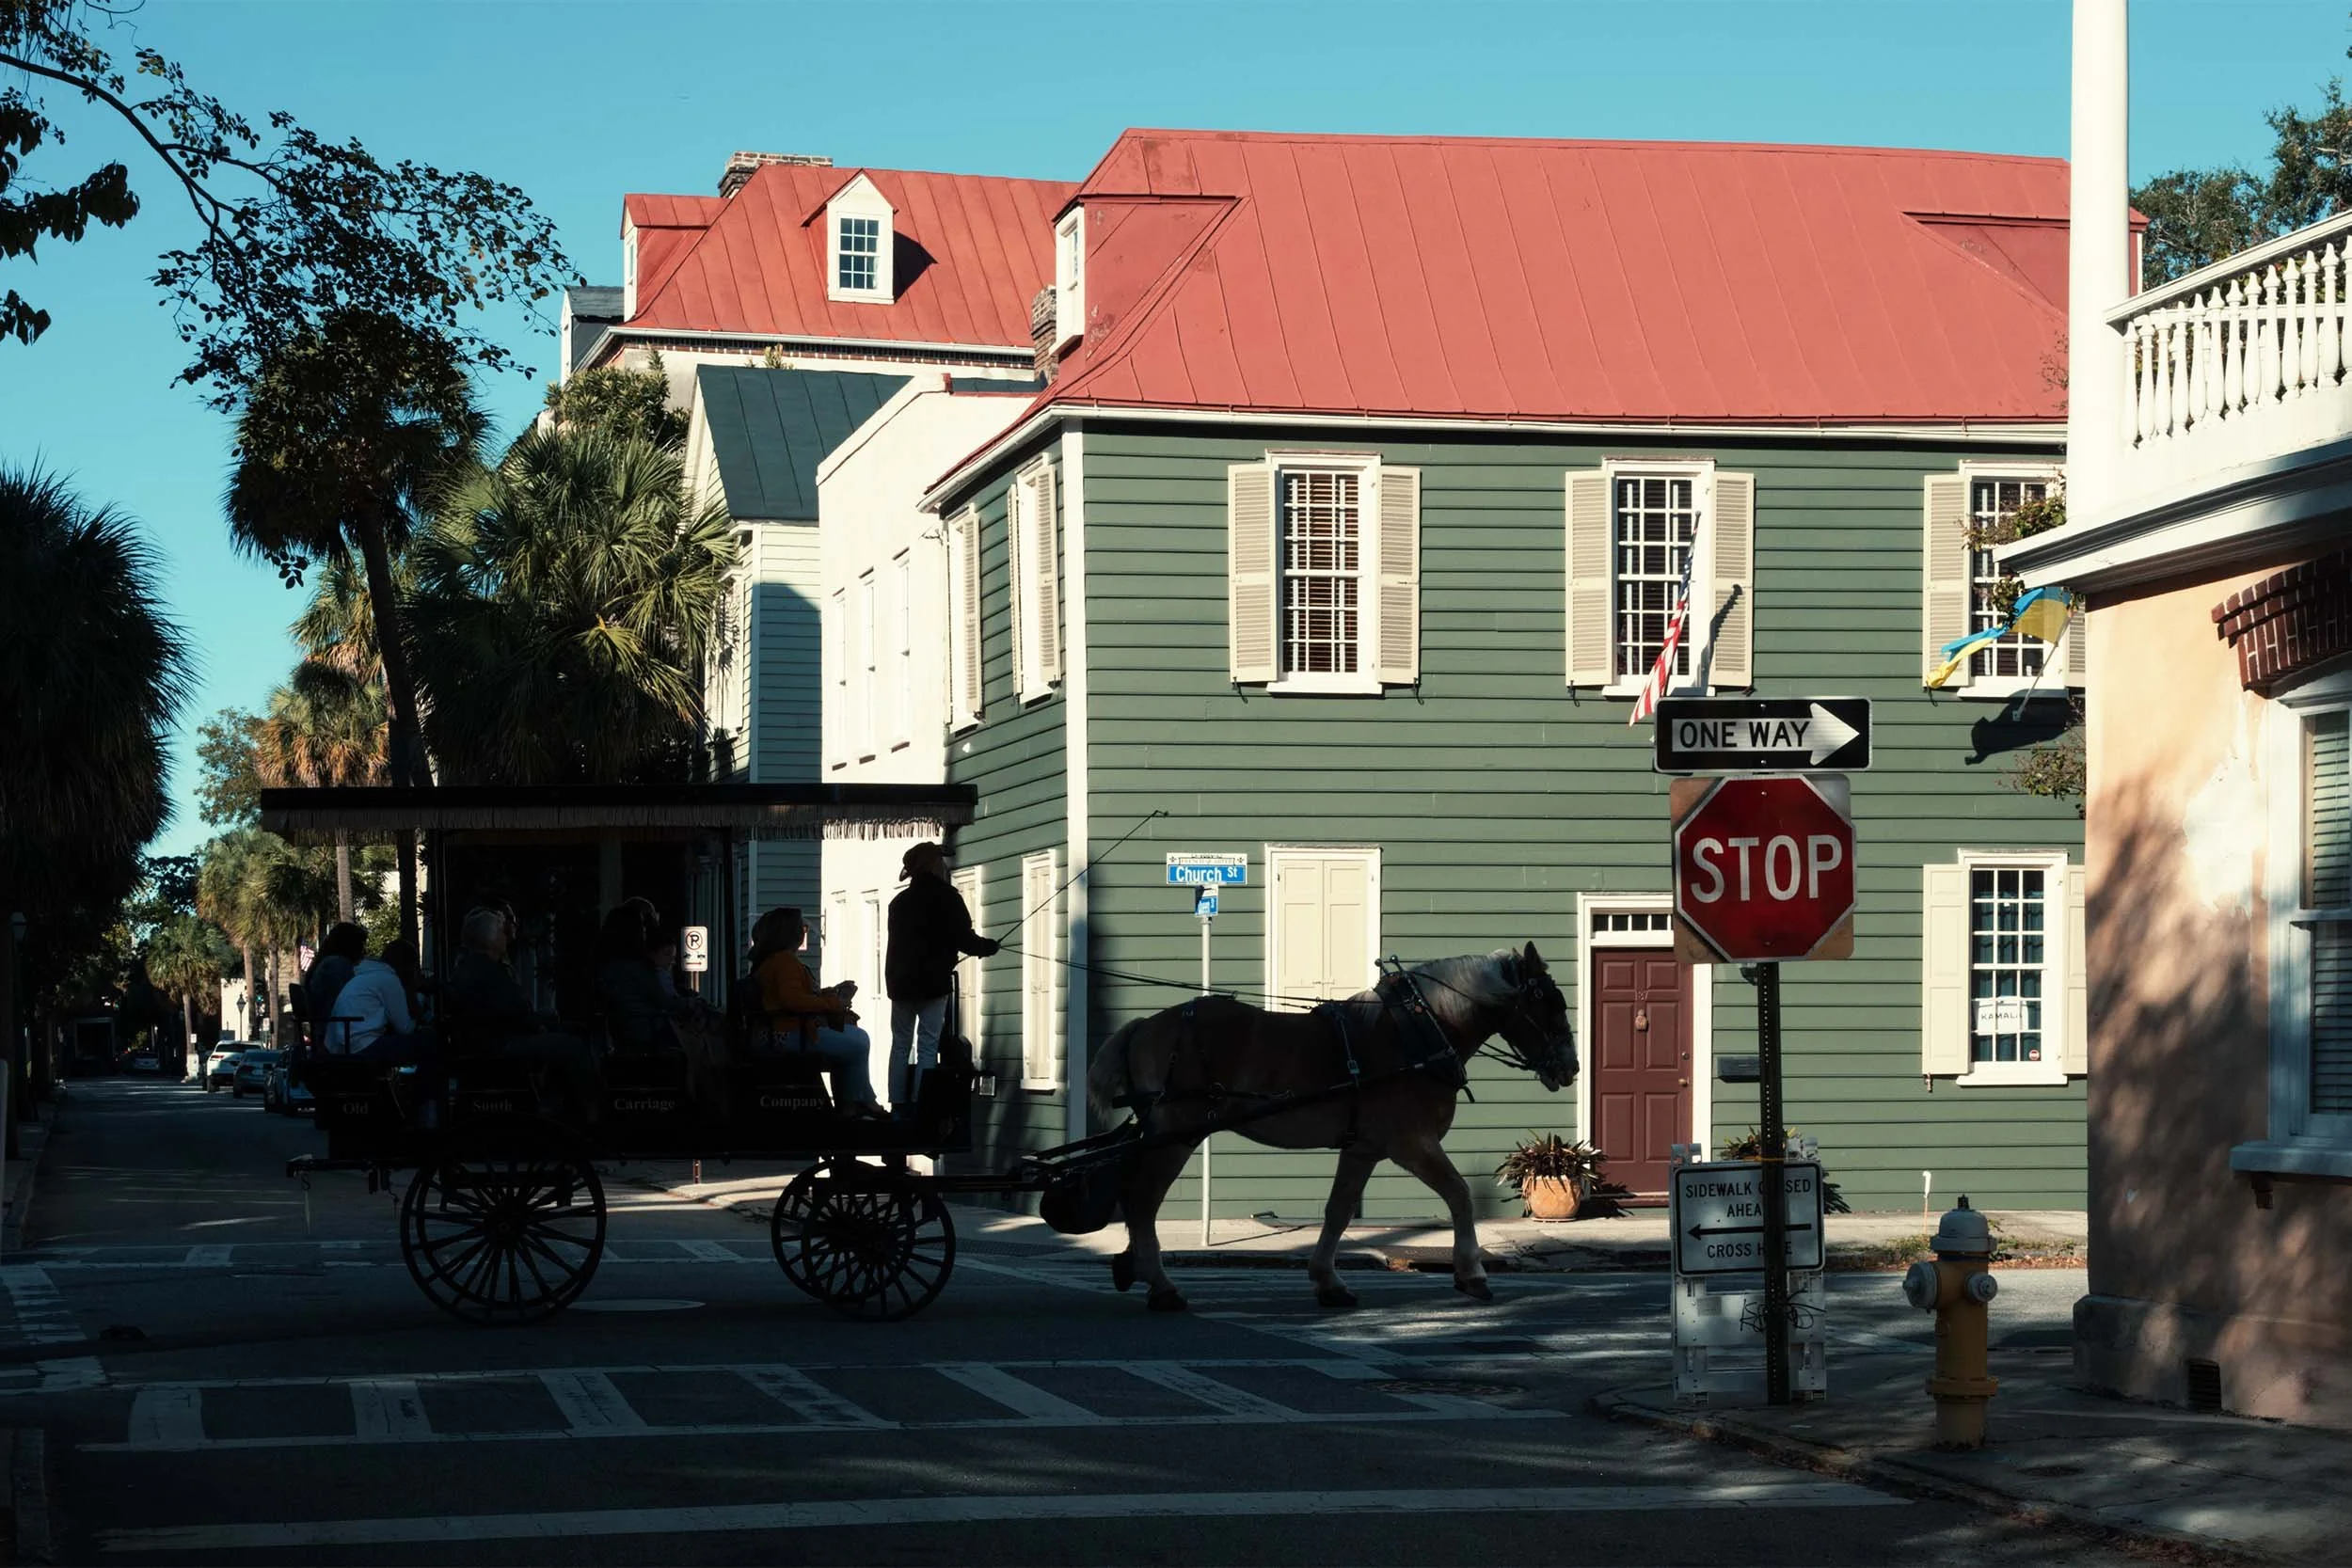
The carriage is backlit, turning the corner past a green clapboard house with a red roof. I wanted the horse and carriage as silhouettes. The light behind them wasn’t very strong, so a third of a stop under was enough.
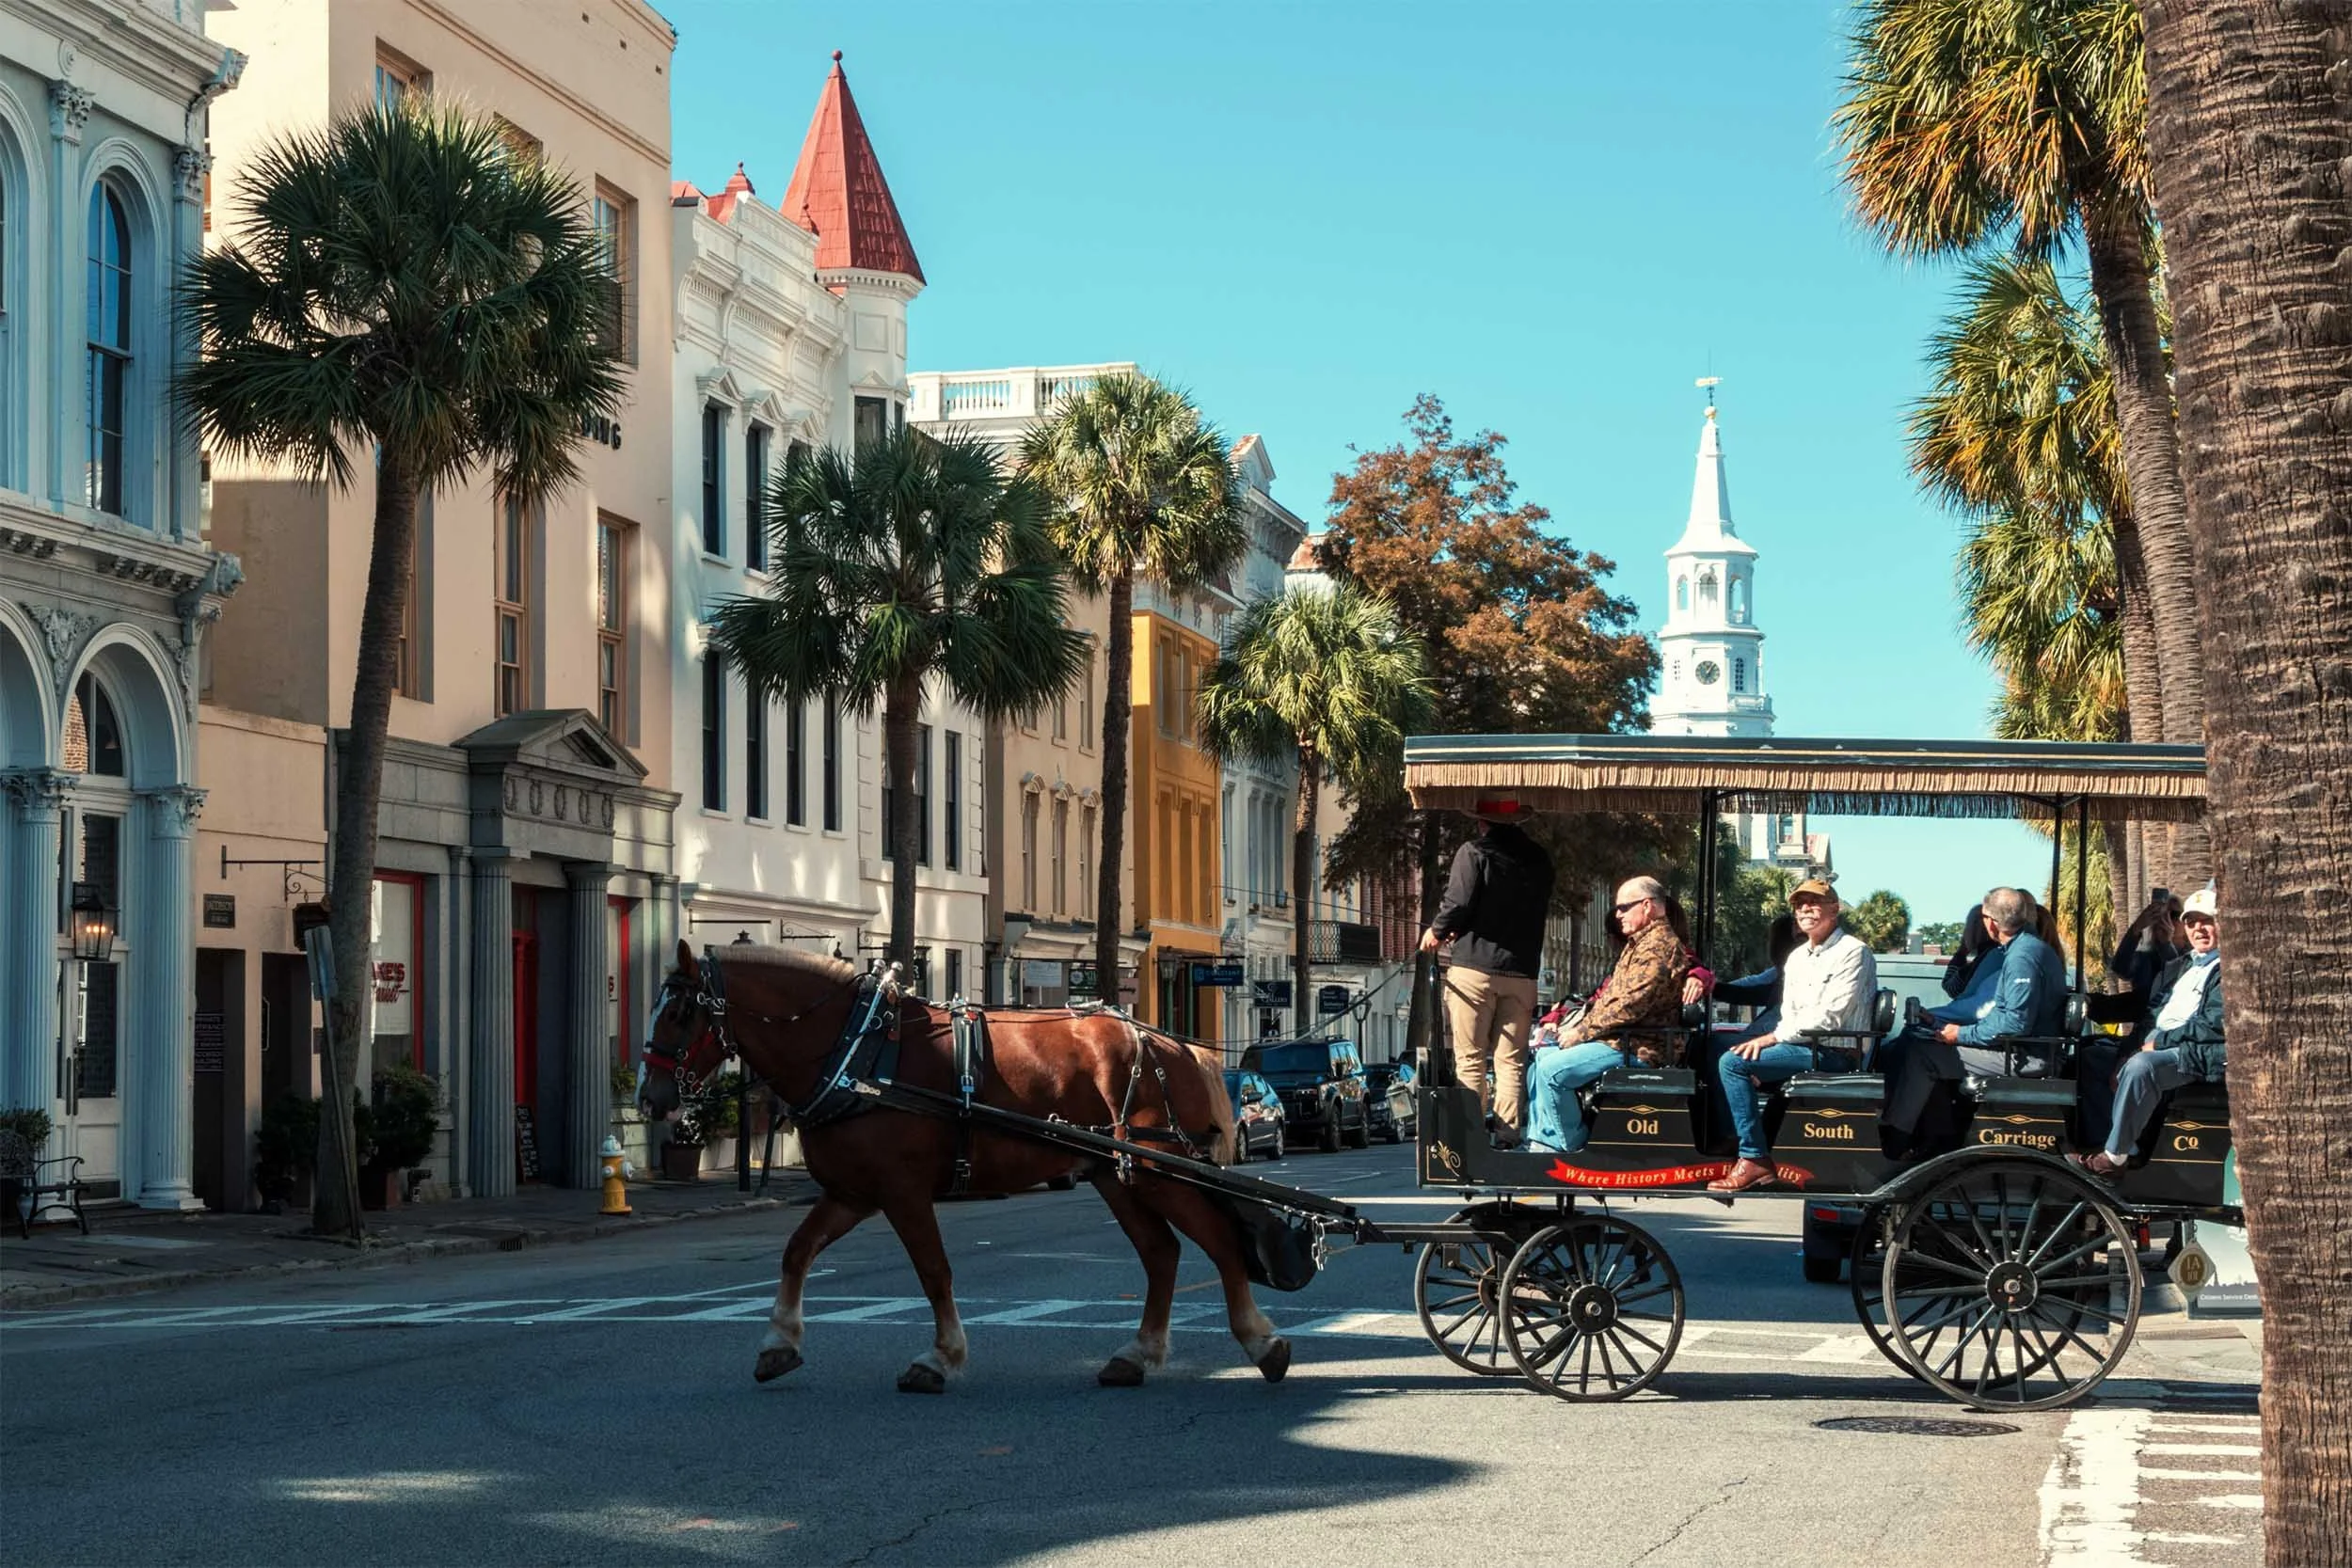
An Old South Carriage tour crossing Broad Street, with St. Michael’s steeple behind the palmettos. The passengers are sitting in a pocket of light, the same kind of light I wrote about in Finding Pockets of Light. I didn’t want them overexposed, so I brought the exposure down a third of a stop.
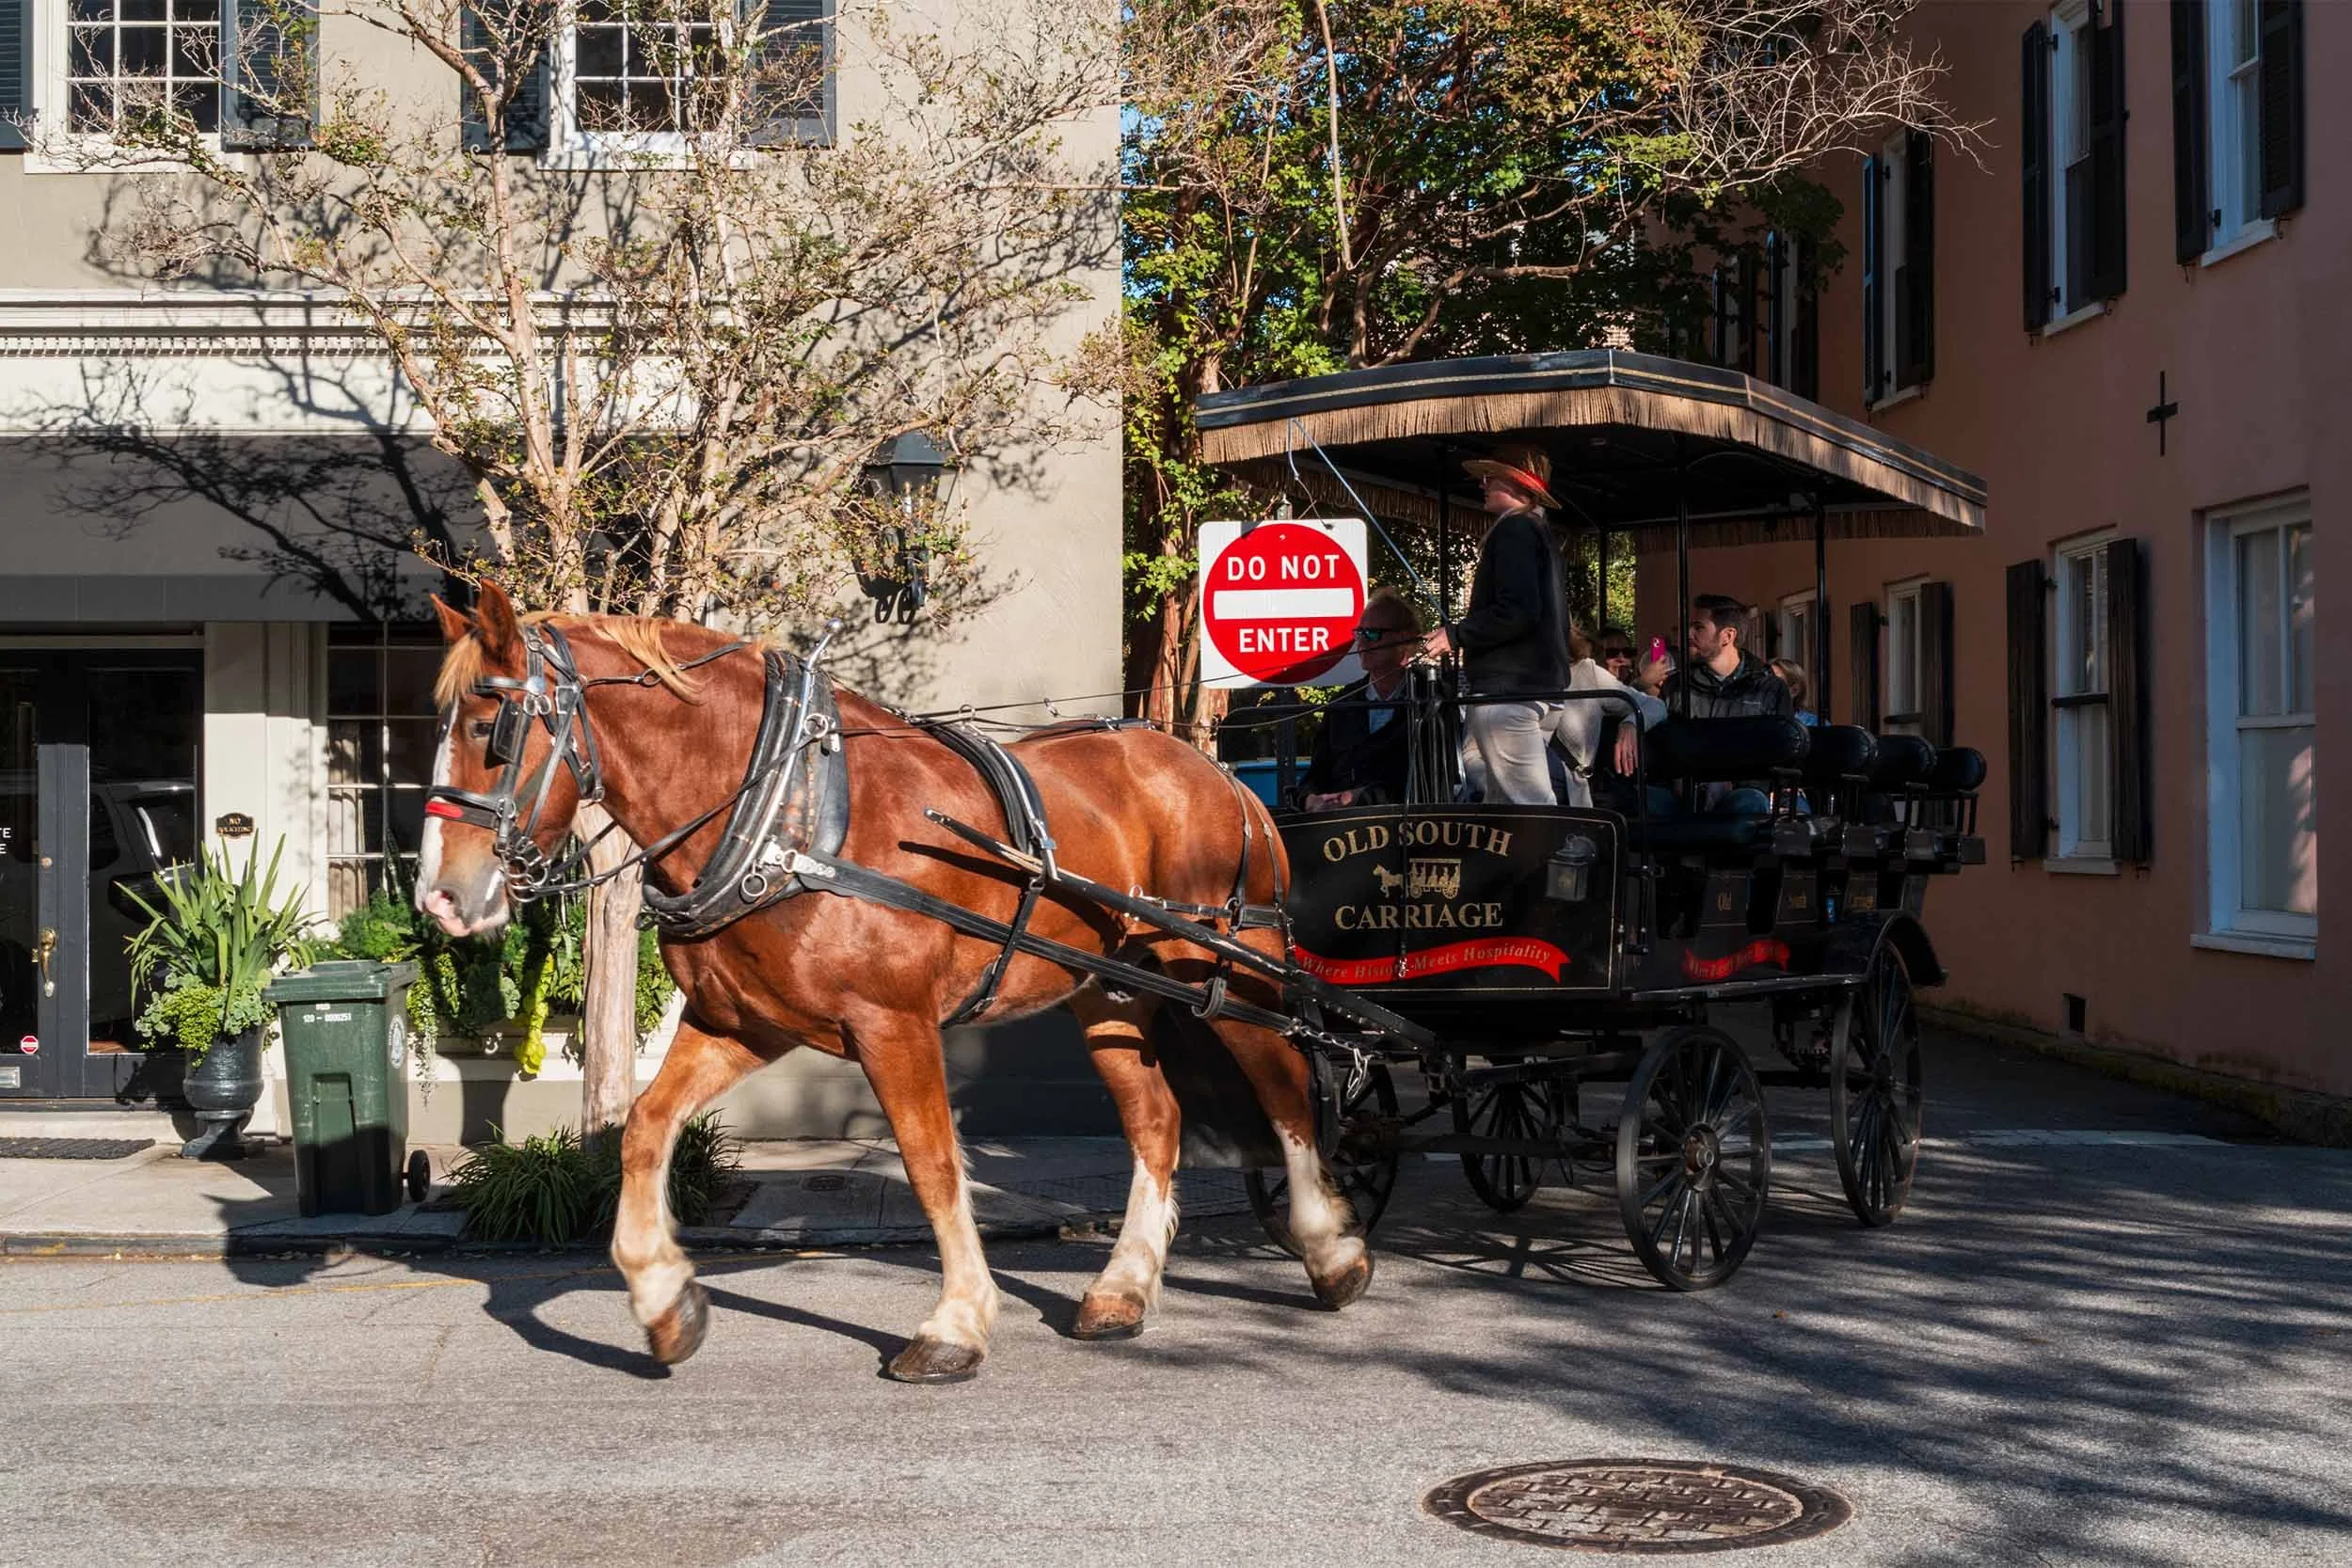
A chestnut horse pulling an Old South Carriage tour past a Do Not Enter sign. The horse is in full light, with dappled light falling on the driver and the passengers. I wanted the exposure right on the horse, so I brought it down a third of a stop, knowing I could work with the shadows in post if I needed to.
When the Light Changes
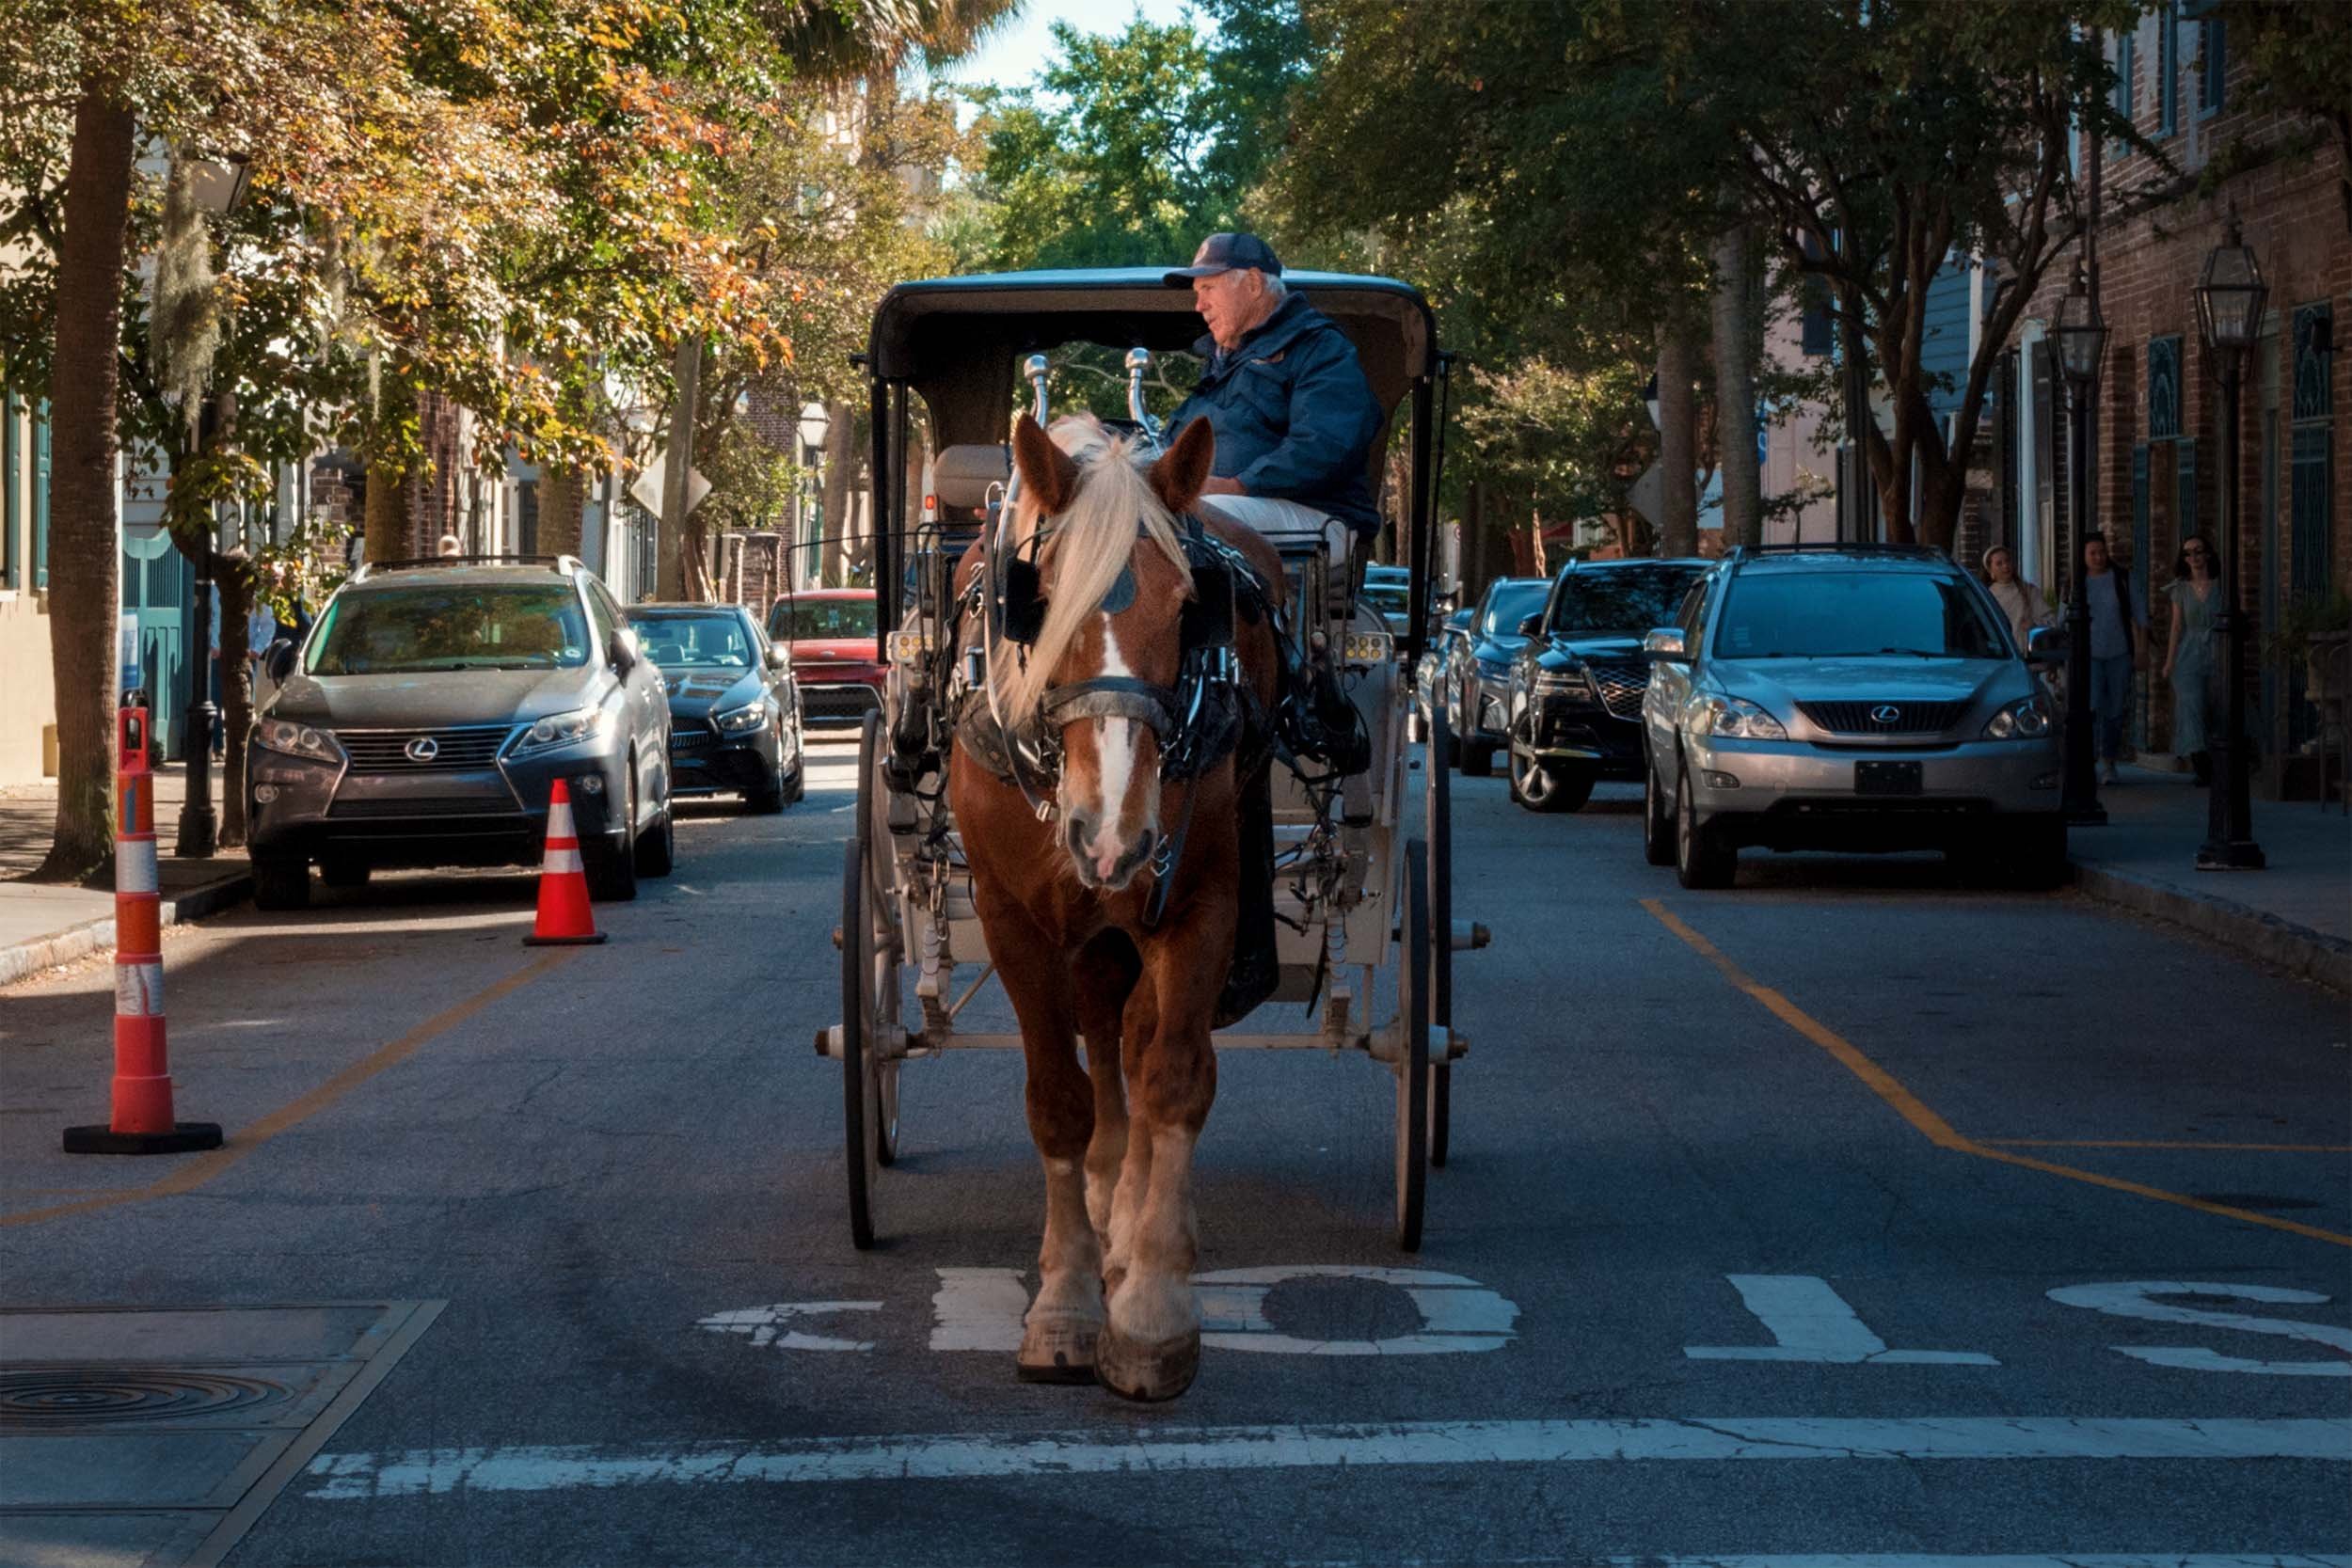
A carriage horse stopped at a crosswalk on a tree-lined street, facing straight at the camera. Even though I was shooting a 28mm lens, the shot looks compressed because I was so close to the horse. The street was in flat light, so I didn’t adjust anything and trusted the Leica to get the exposure right in Multi-Field.
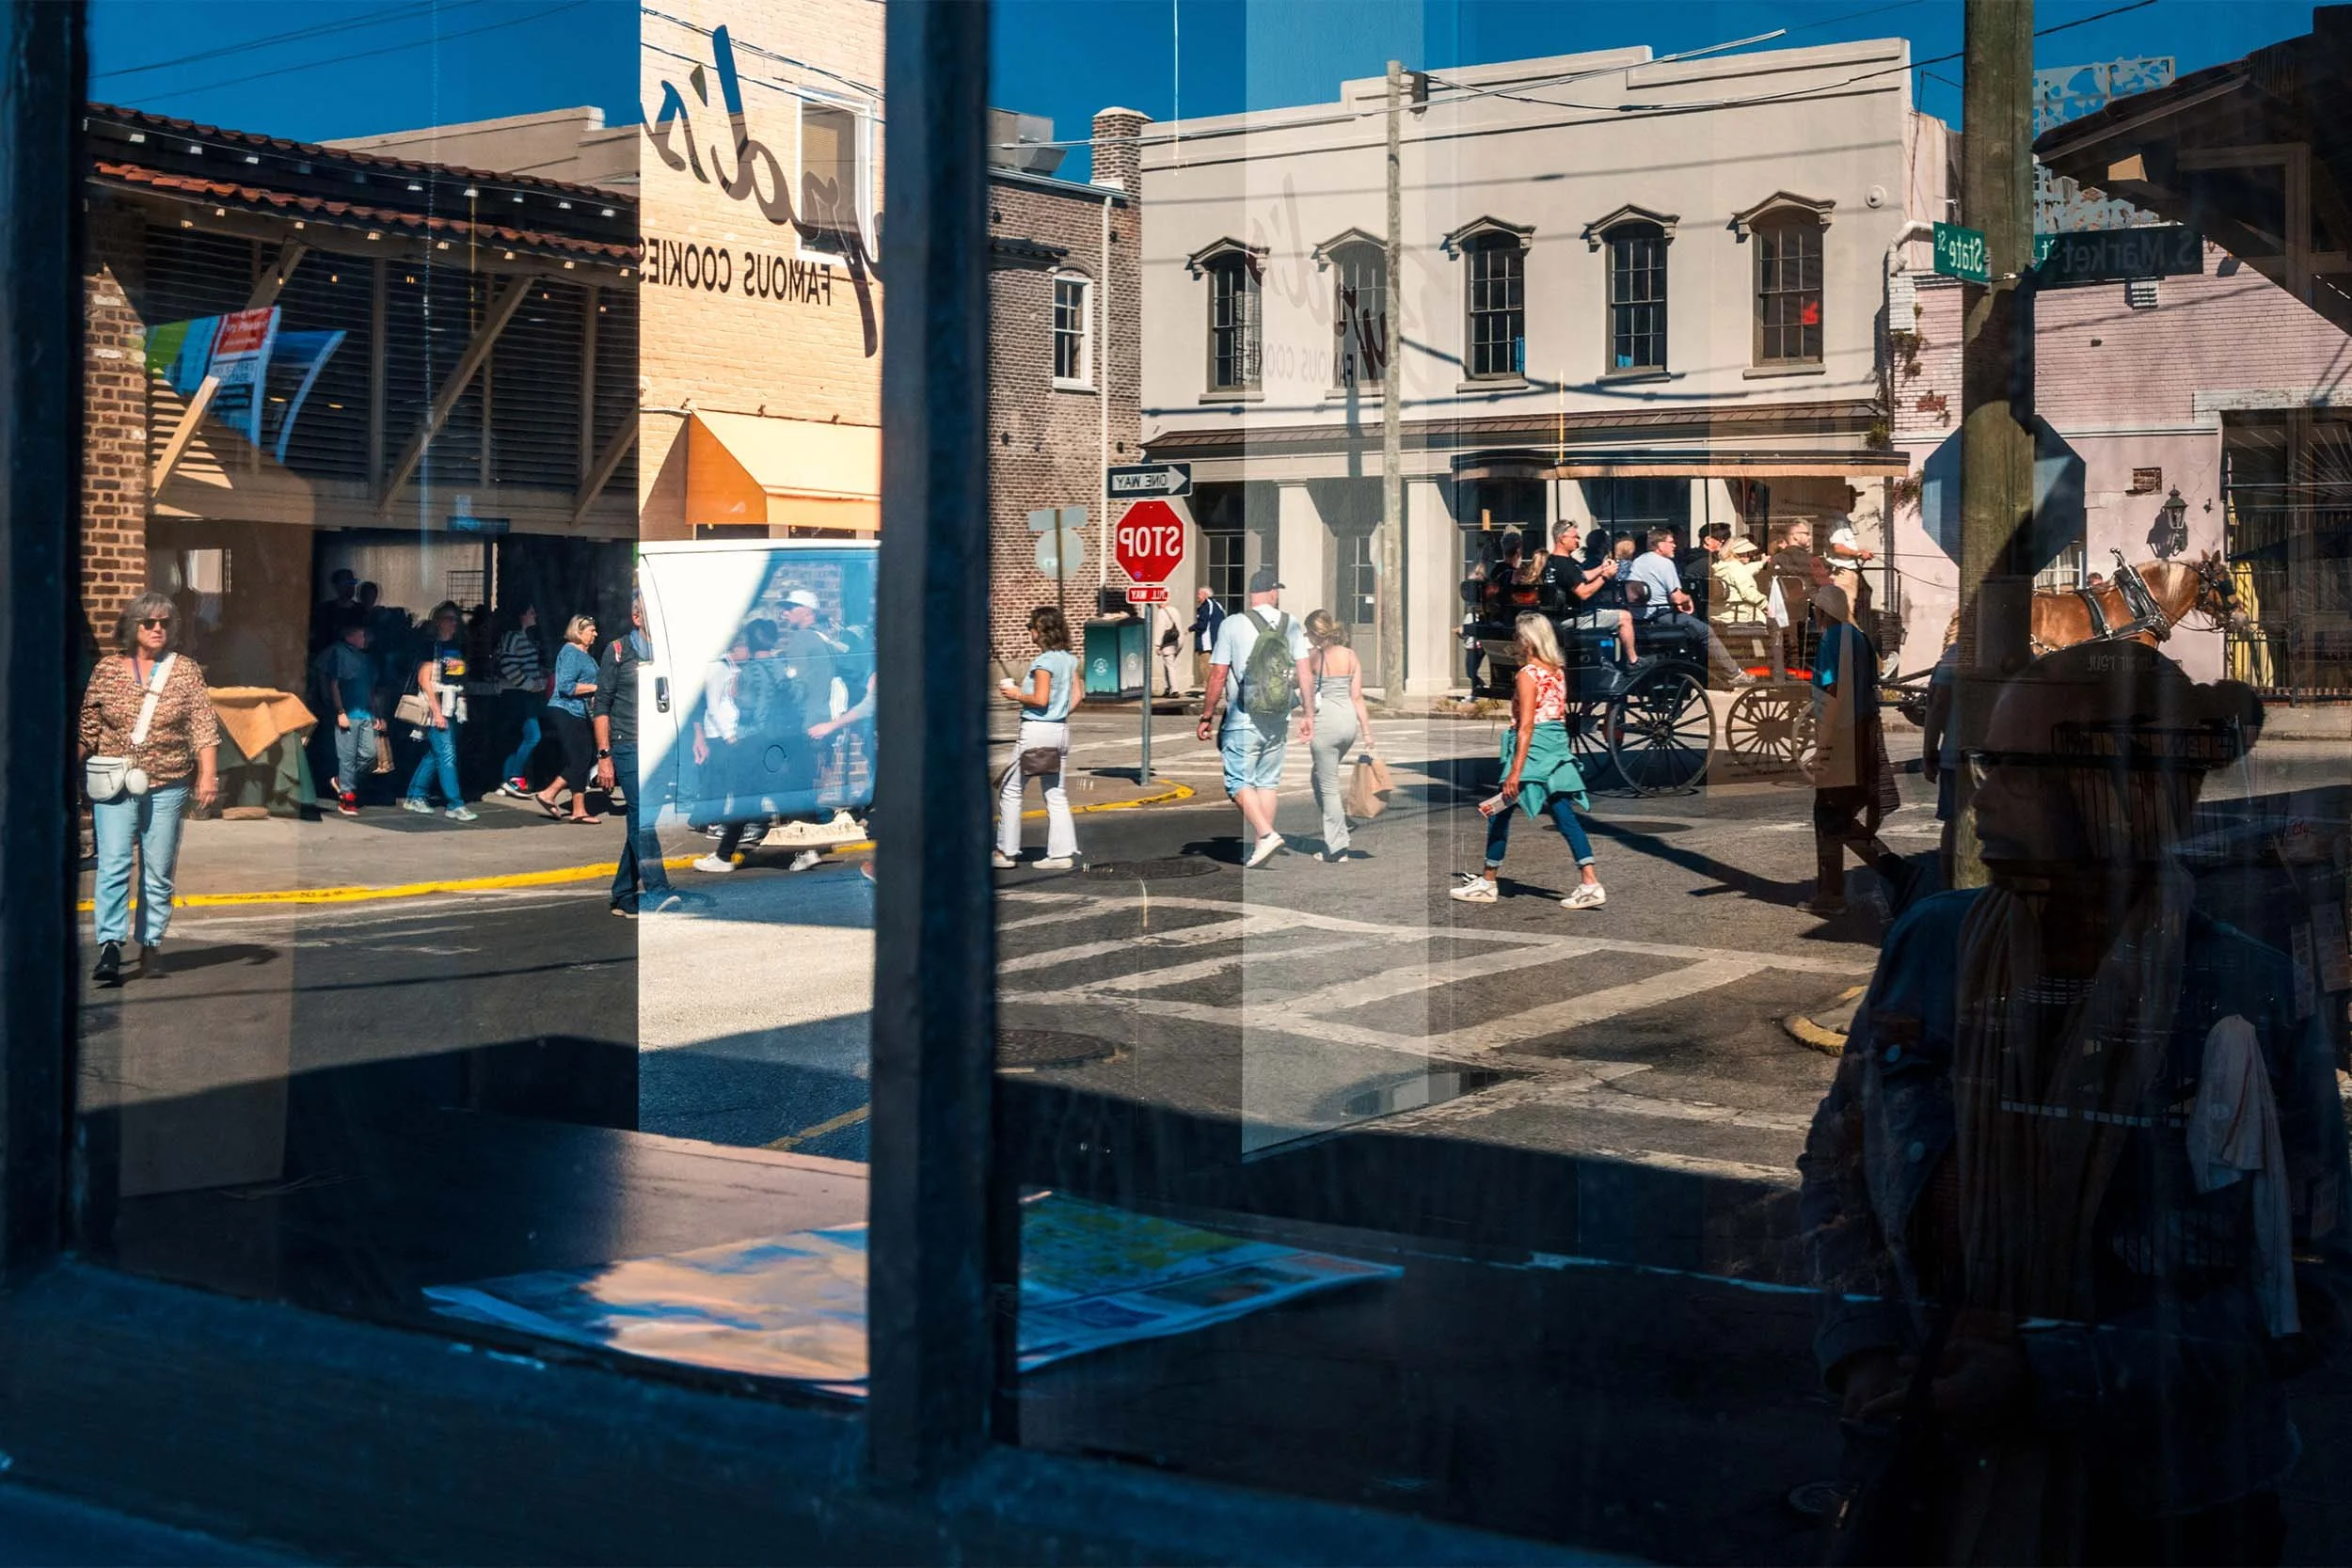
A crosswalk and a carriage outside the City Market, reflected in a shop window. The background is lit, and the people in the foreground are silhouettes. I exposed for the background and brought it down two thirds of a stop, so the silhouettes stayed dark.
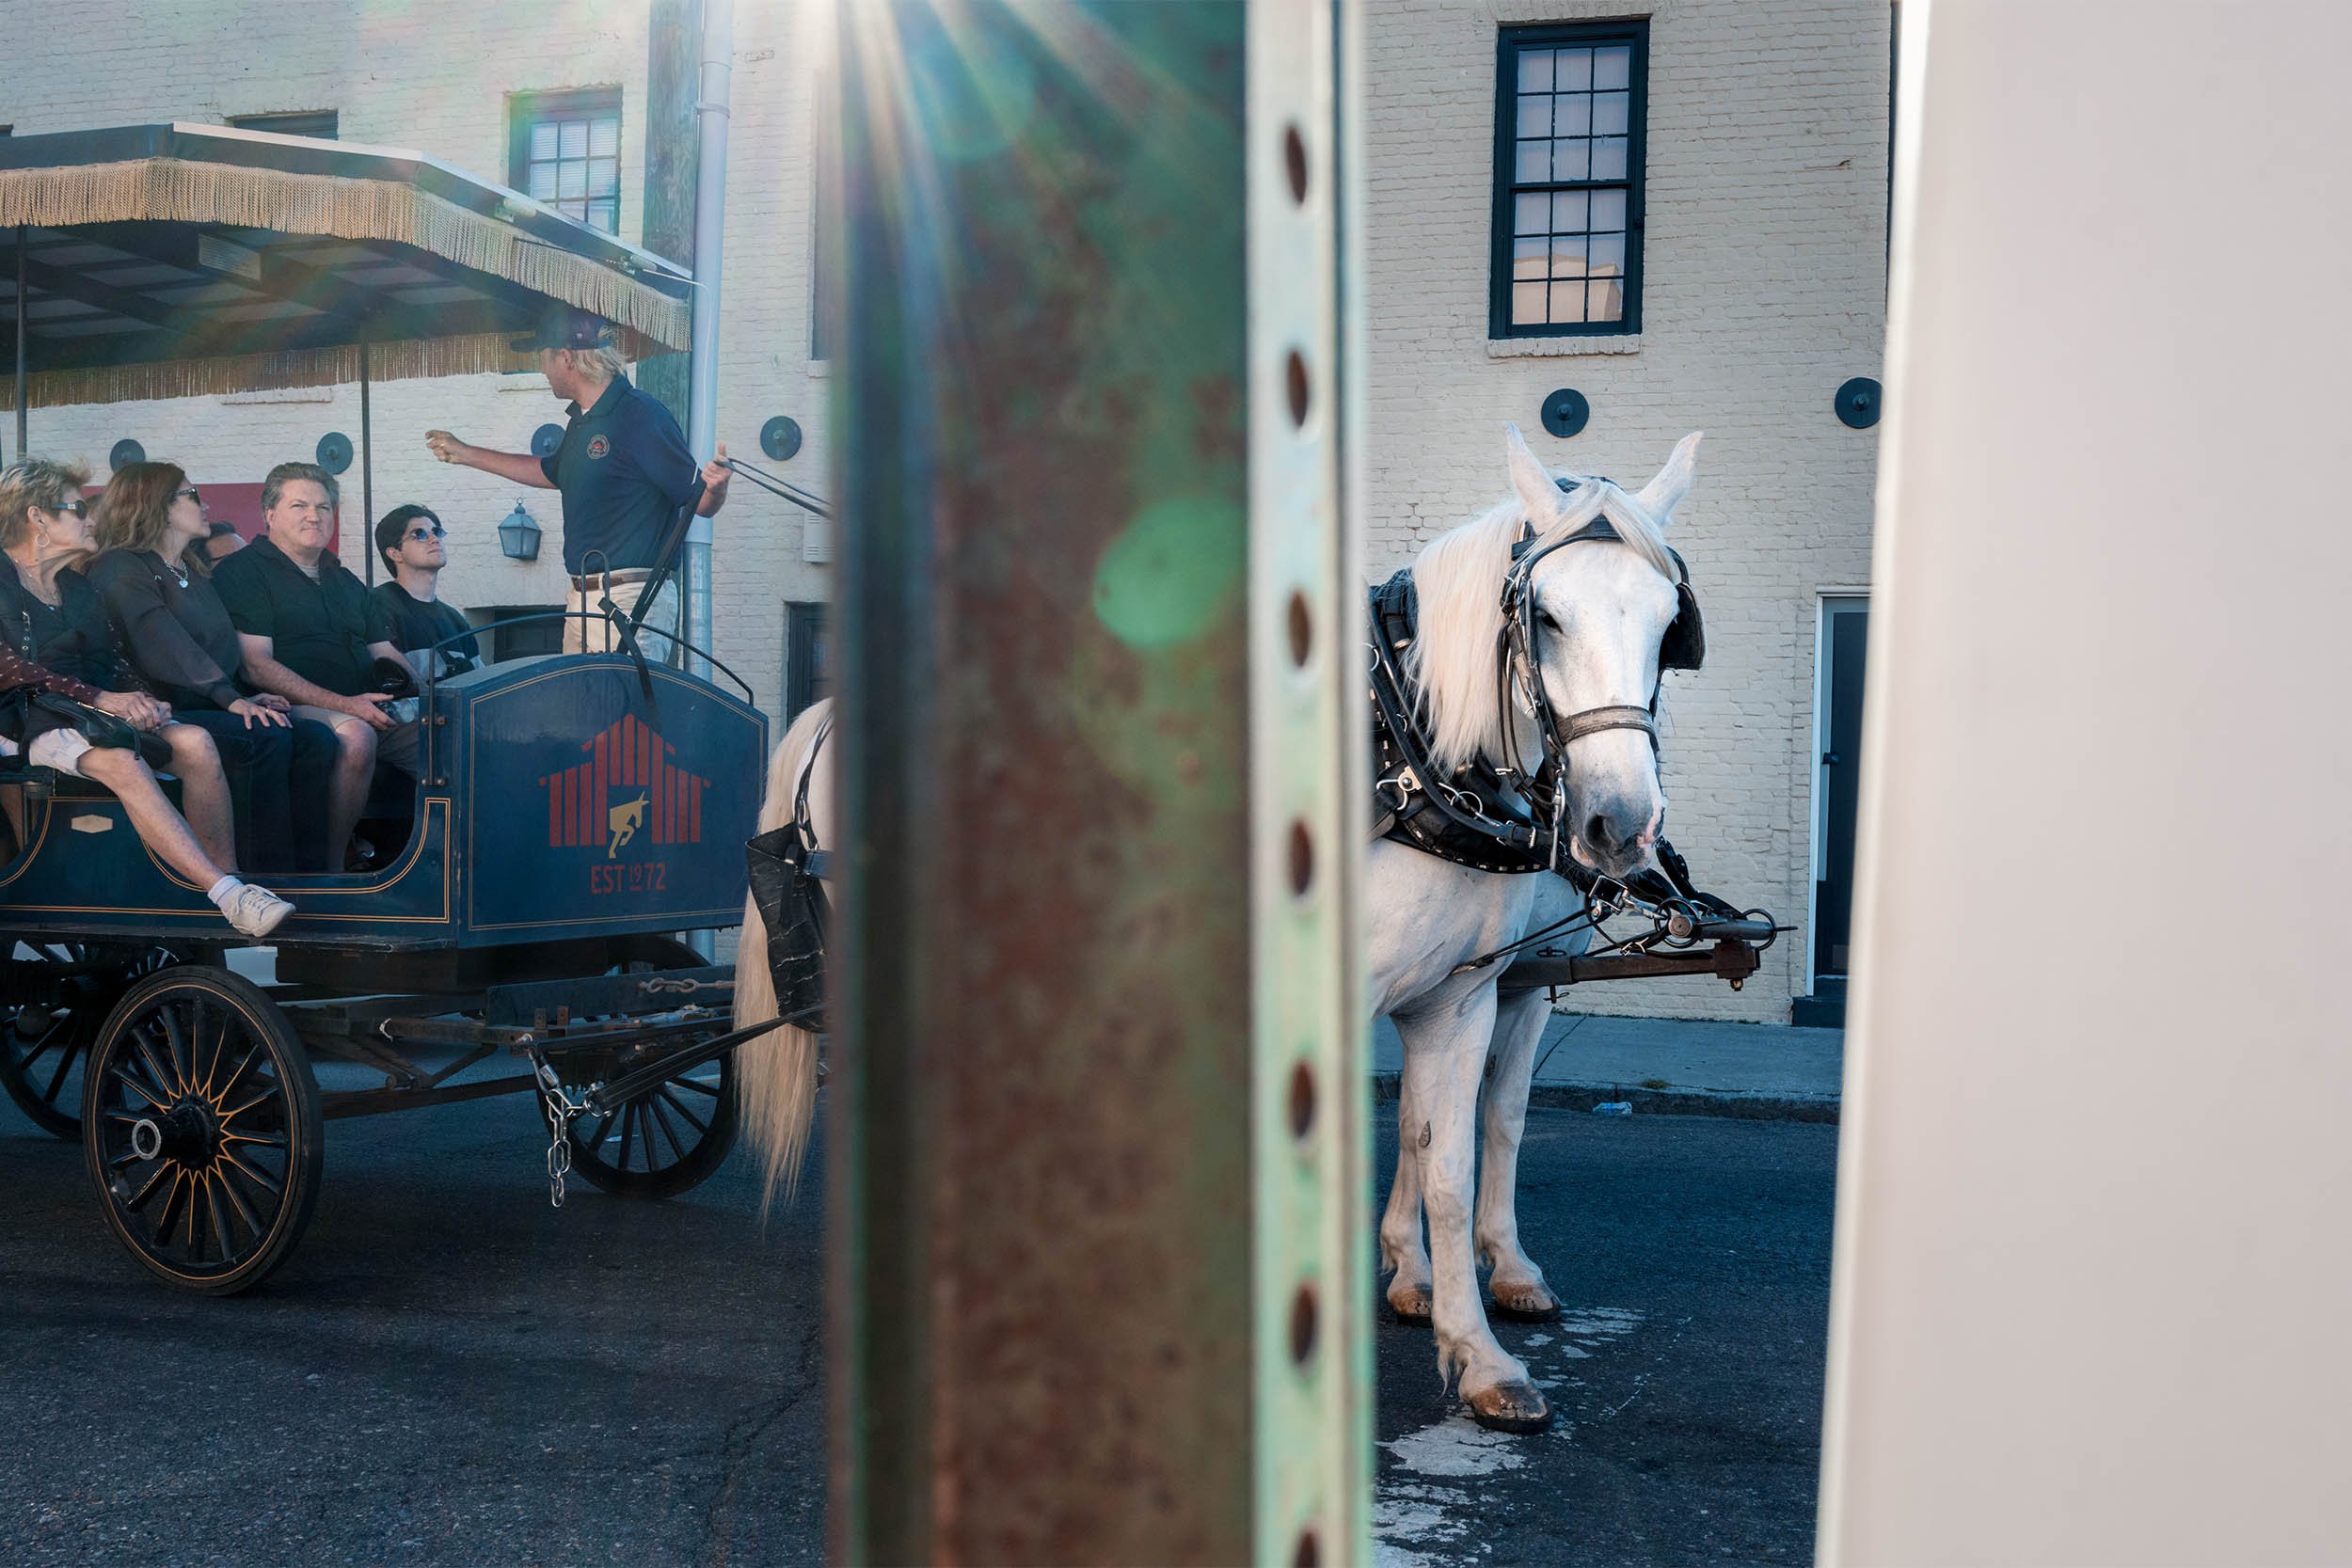
A carriage tour with a white horse, seen past a rusted signpost. I positioned the camera so the sun wasn’t hitting the lens directly, with the post partially blocking it, the same approach I described in Hide the Sun. For a sun flare shot, I always stop down to f/16 to create the flare and underexpose anywhere from a third of a stop to a full stop. In this shot, a third was enough.
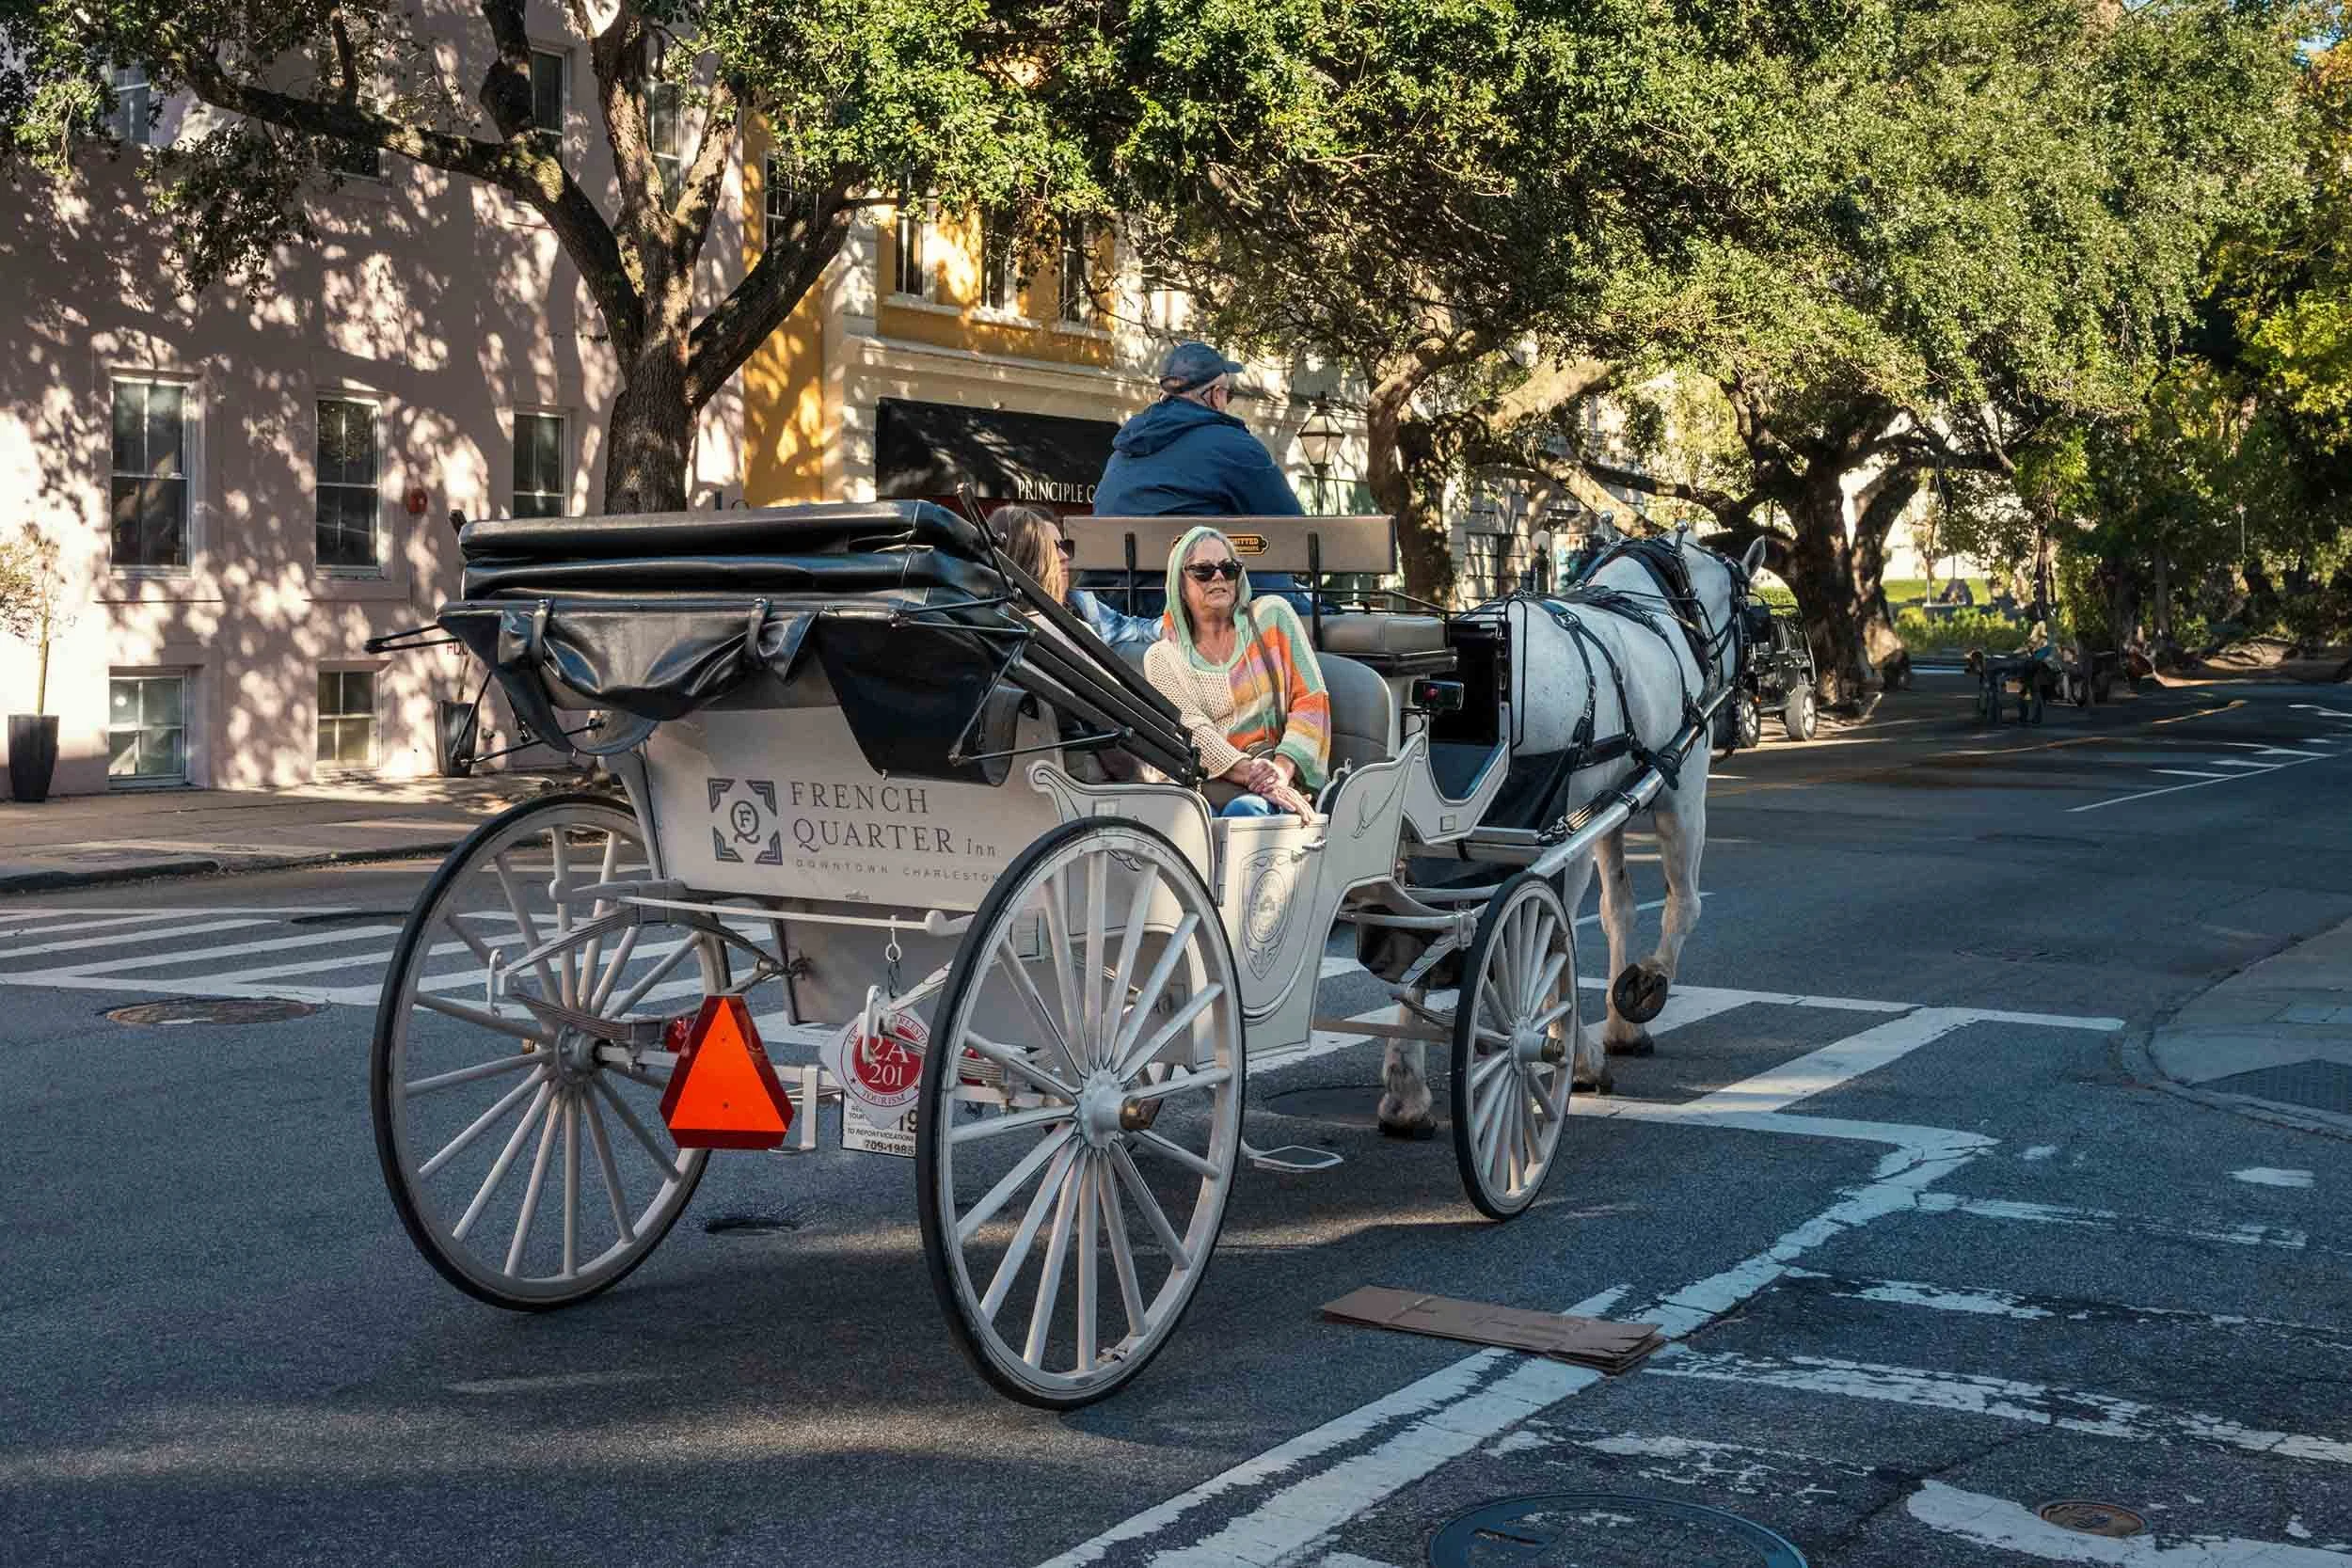
A couple riding in a white French Quarter carriage pulled by a gray horse, the one frame where the passengers are the subject instead of the horse. It was also in flat light, and I left the exposure to the camera.
See More
The Battery mansions and the Fort Sumter ferry are in the full Charleston, SC gallery. The photos from the trip are also compiled in the Charleston video.